kopia lustrzana https://github.com/mobilinkd/tnc3-firmware
340 wiersze
13 KiB
Markdown
340 wiersze
13 KiB
Markdown
# Firmware Update Process for TNC3 on Microsoft Windows 10
|
|
|
|
This document outlines the firmware update process for the Mobilinkd TNC3
|
|
for Microsoft Window, focusing on Windows 10. The update process should
|
|
be similar enough for all Windows versions back to Windows 7.
|
|
|
|
Please note that the firmware update software is cross-platform, so the
|
|
actual firmware update process is the same for Windows, Linux and MacOS.
|
|
|
|
The first part of this document outlines the download and installation
|
|
process of the firmware programming software and the required device
|
|
drivers.
|
|
|
|
The second part of this document outlines the firmware upgraded process
|
|
using the STM32CubeProgrammer software.
|
|
|
|
The third part of this document outlines troubleshooting steps.
|
|
|
|
If you have already downloaded and installed the STM32CubeProgrammer
|
|
software, feel free to skip to the [Firmware Update Section](#firmware-update-process).
|
|
|
|
# Installing the Firmware Programmer and Device Drivers
|
|
|
|
The Mobilinkd TNC3 uses the STM32CubeProgrammer software from
|
|
STMicroelectronics to perform firmware updates. This is a comprehensive
|
|
and cross-platform firmware update tool.
|
|
|
|
You will be performing the following steps:
|
|
|
|
- Downloading the software
|
|
- Unzipping the software
|
|
- Running the installer
|
|
- Installing Java (if not already installed)
|
|
- Installing the firmware update software
|
|
- Installing the device drivers
|
|
|
|
## Download the Software
|
|
|
|
The firmware update tool is available from here:
|
|
https://s3.amazonaws.com/mobilinkd/en.stm32cubeprog-1.4.0.zip
|
|
|
|
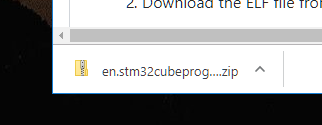
### Download the File
|
|
|
|
|
|
|
|
### Open the File
|
|
|
|
|
|
|
|
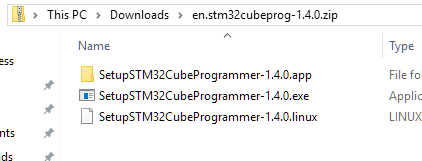
### Extract the Files
|
|
|
|
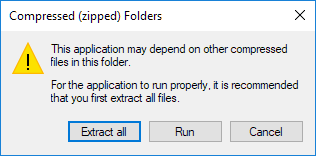
Double-click the executable file. Windows will ask you to extract all
|
|
files.
|
|
|
|
|
|
|
|
Select "Extract all".
|
|
|
|

|
|
|
|
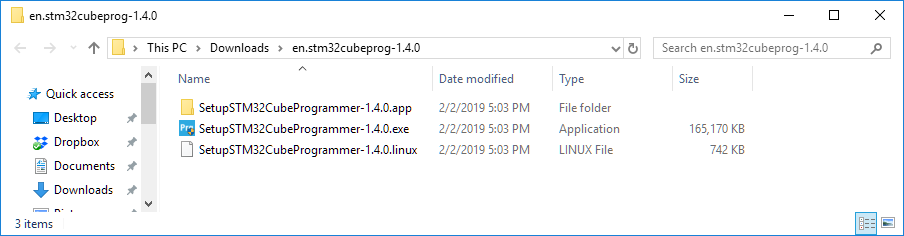
Make sure that "Show extracted files when complete" is selected. Once
|
|
complete, you will be presented with a new file browser showing the
|
|
extracted files.
|
|
|
|
|
|
|
|
### Install Java
|
|
|
|
Double-click the SetupSTM32CubeProgrammer-1.4.0.exe to run the installer.
|
|
|
|
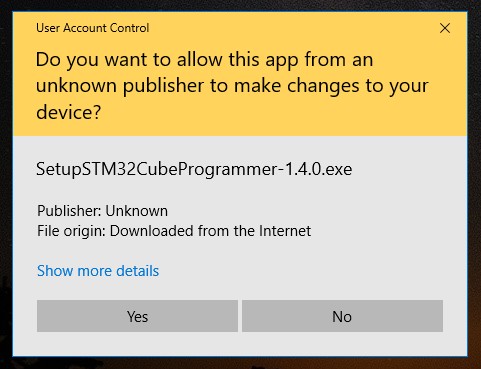
You may be presented with a warning screen.
|
|
|
|
|
|
|
|
Select "Yes" to continue.
|
|
|
|
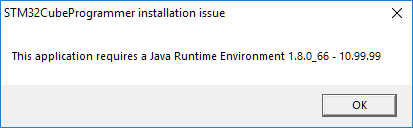
At this point you may be presented with a message saying that Jave is
|
|
required. This section will guide you through the installation
|
|
process. If this does not appear for you, please skip to the next
|
|
section.
|
|
|
|
|
|
|
|
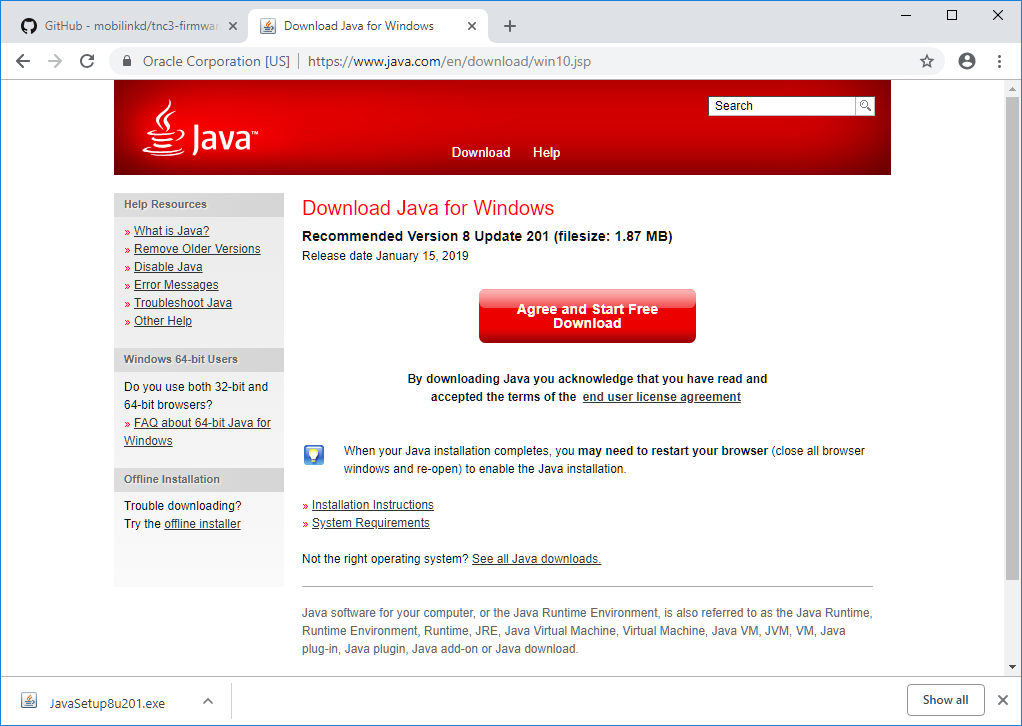
Select "OK" to continue. You will be presented with a browser window
|
|
to download the Java Runtime Environment.
|
|
|
|
|
|
|
|
Windows may ask you to approve this software installation.
|
|
|
|

|
|
|
|
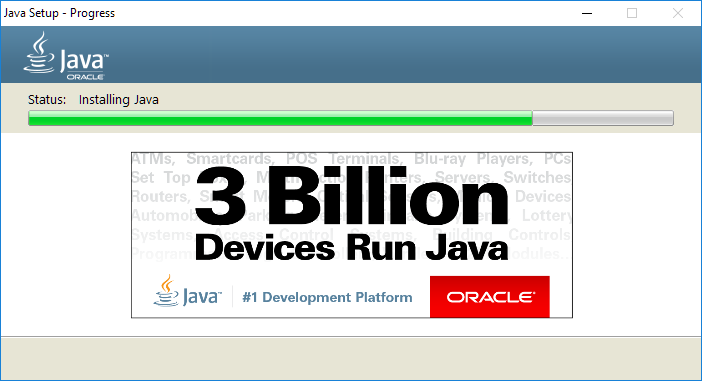
Select "Yes" to continue. You will see the Java installation window appear.
|
|
|
|
|
|
|
|
Once complete, you will need to go back to the File Browser showing the
|
|
STM32CubeProgrammer extracted files.
|
|
|
|

|
|
|
|
Double-click the SetupSTM32CubeProgrammer-1.4.0.exe to run the installer.
|
|
|
|
You may be presented with a warning screen.
|
|
|
|

|
|
|
|
Select "Yes" to continue.
|
|
|
|
### Install STM32CubeProgrammer
|
|
|
|
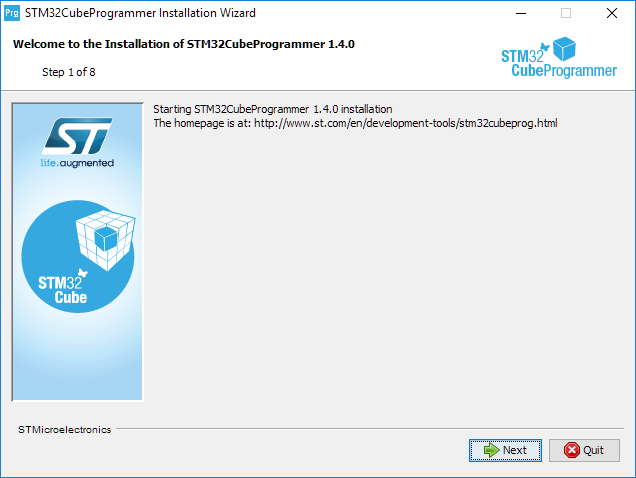
Follow the installation screens, choosing the defaults.
|
|
|
|
|
|
|
|
Select "Next".
|
|
|
|
|
|
|
|
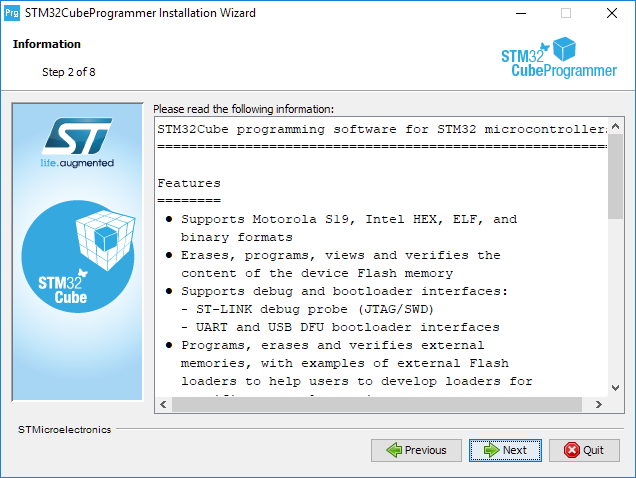
Skip the information... select "Next".
|
|
|
|
|
|
|
|
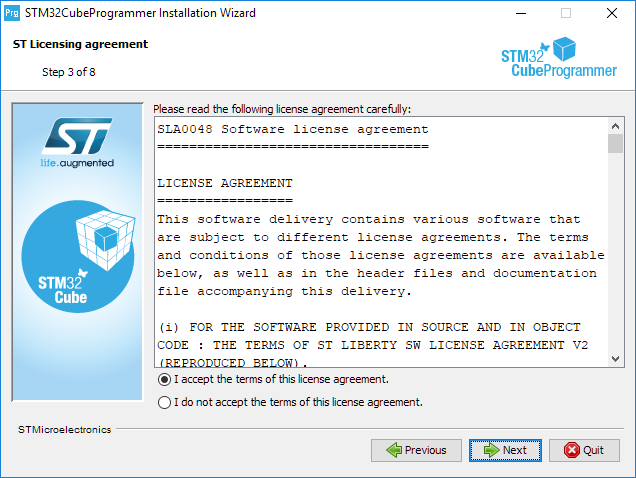
Accept the terms of the software license agreement and press "Next".
|
|
|
|
|
|
|
|
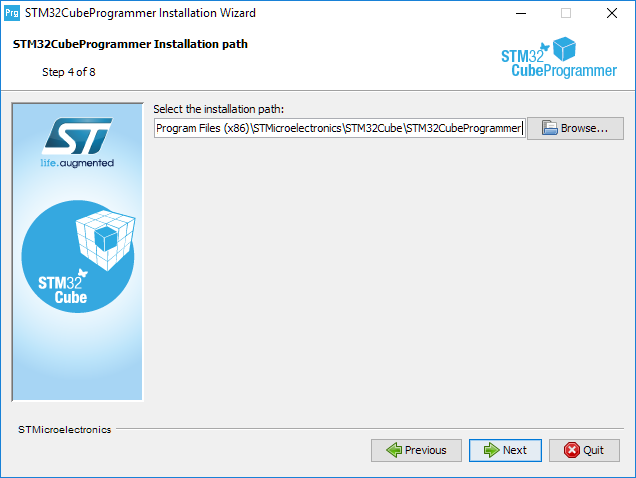
Unless you have a very good reason to change the location of the installed
|
|
software, use the default path and select "Next.
|
|
|
|
You may be presented with a dialog informing you the location will be created.
|
|
Select "OK".
|
|
|
|

|
|
|
|
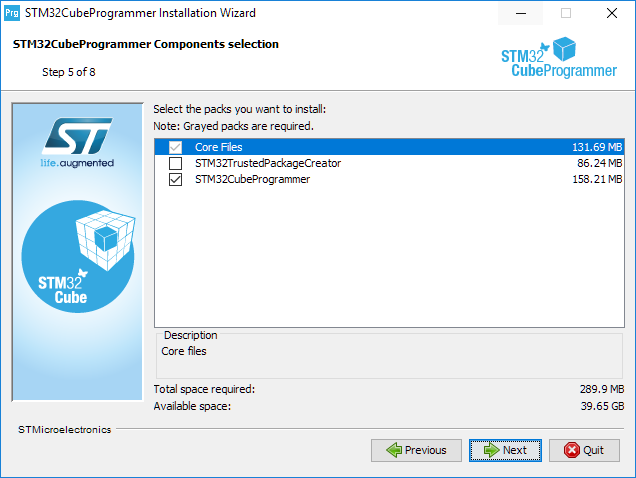
The next screen asks which components should be installed. You should just
|
|
select the default components as these are all that is required for the
|
|
firmware update process on the Mobilinkd TNC3.
|
|
|
|
|
|
|
|
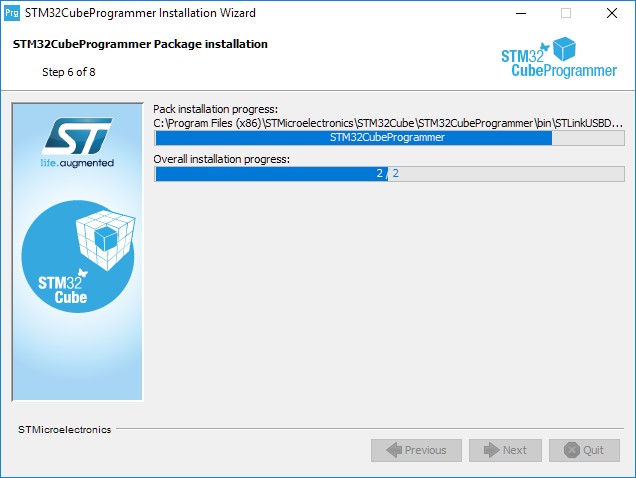
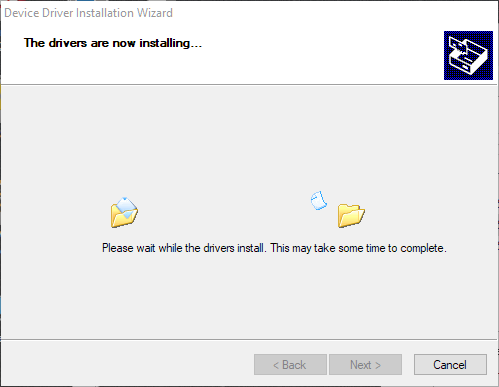
The installation process will begin...
|
|
|
|
|
|
|
|
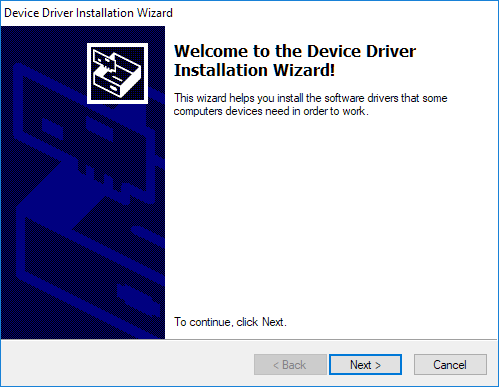
After the software is installed, the installer will install the required
|
|
device drivers.
|
|
|
|
|
|
|
|
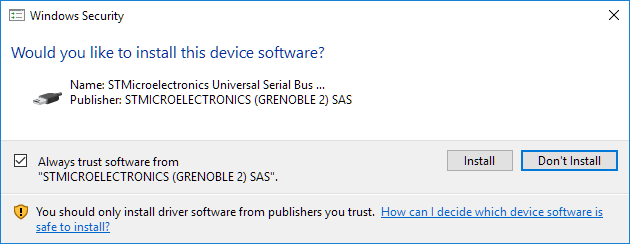
Select "Next" to proceed with the installation. You may be asked to confirm
|
|
the installation of the drivers.
|
|
|
|
|
|
|
|
Select "Install" to proceed.
|
|
|
|
|
|
|
|
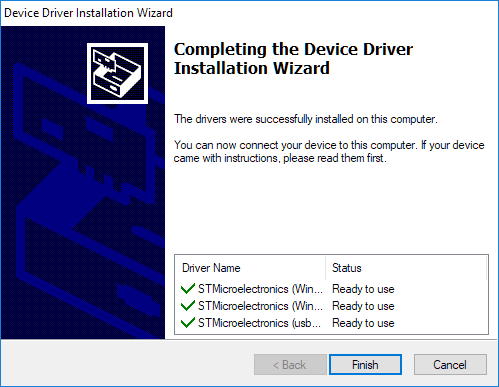
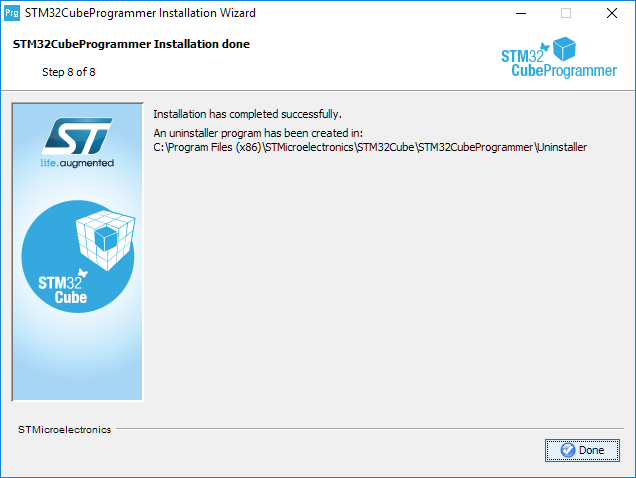
When finished, you will see the following.
|
|
|
|
|
|
|
|
Select "Finish" to proceed.
|
|
|
|
|
|
|
|
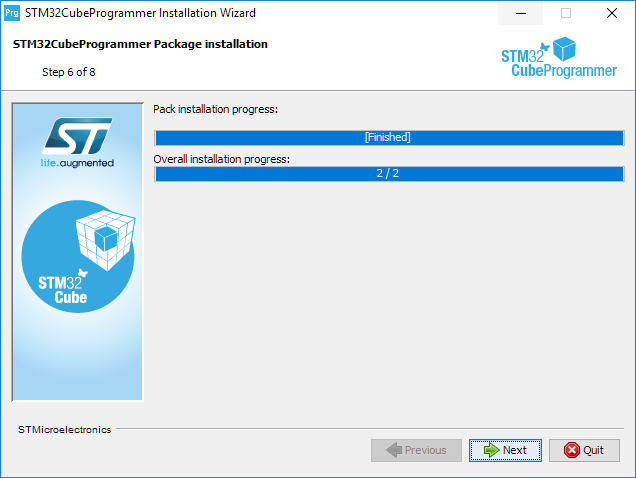
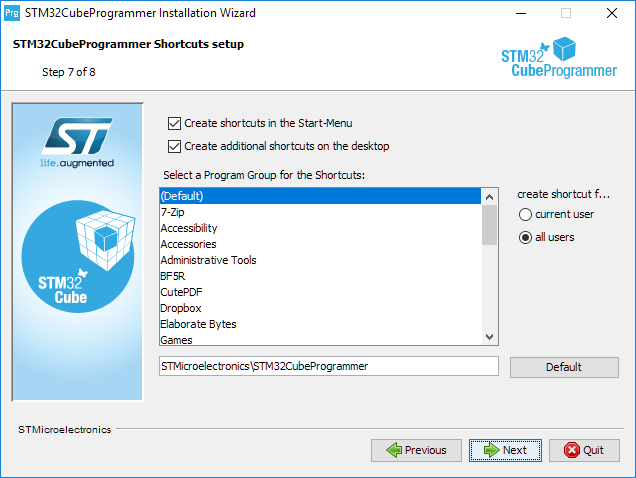
When complete, select "Finish" to proceed. The installer will finalize the
|
|
installation. Accept the defaults for the next two screens.
|
|
|
|
|
|
|
|
|
|
|
|
The firmware update software is installed and an icon exists on the desktop.
|
|
|
|
# Firmware Update Process
|
|
|
|
This section will walk you through the firmware update process. The
|
|
STM32CubeProgrammer is fairly complex, and it is easy to unintentionally
|
|
damage the TNC if the instructions are not carefully followed.
|
|
|
|
## Download the Firmware File
|
|
|
|
To start, download the latest firmware for the TNC3 from the [Mobilinkd
|
|
Downloads page](http://www.mobilinkd.com/downloads/?dl_cat=6). The file
|
|
will have a ".elf" extension.
|
|
|
|
## Prepare the TNC
|
|
|
|
The Mobilinkd TNC3 includes a USB-based DFU (device firmware update) bootloader.
|
|
|
|
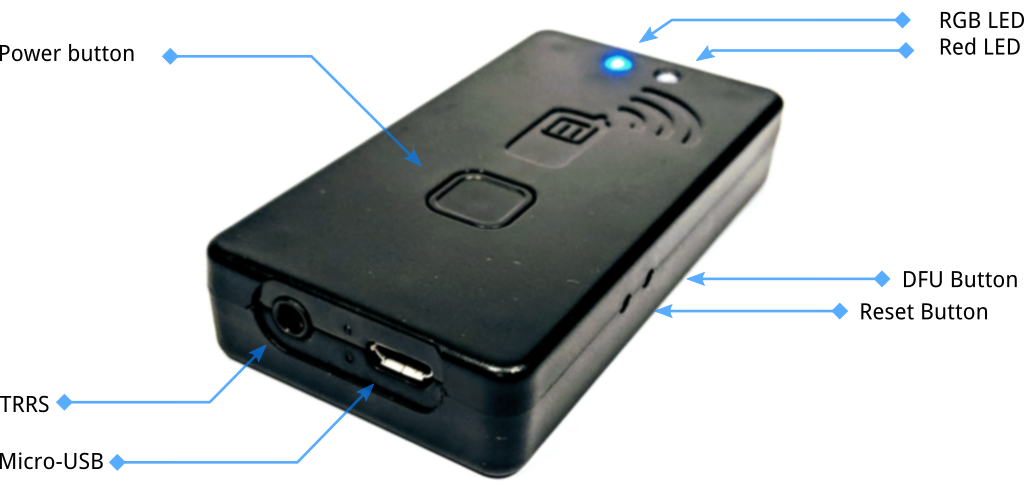
Before we begin, it is helpful to review the TNC3 physical features.
|
|
|
|
|
|
|
|
The DFU button is used to put the TNC into firmware update mode.
|
|
|
|
To update the firmware you will need a USB cable with a micro-USB connector.
|
|
You will also need a ball-point pen or something that can be inserted into
|
|
the hole in the case where the DFU button is.
|
|
|
|
To enter the bootloader, follow these steps:
|
|
|
|
- If you have connected any app to the TNC (APRSdroid, aprs.fi, etc)
|
|
ensure that those apps are disconnected from the TNC. This is very
|
|
important as having one of these apps attempt to connect to the TNC
|
|
may interfere with the ability to enter the bootloader.
|
|
- Start with the TNC powered off and disconnected from radio and USB.
|
|
- Turn on the TNC.
|
|
- Plug USB cable into the computer.
|
|
- Plug the USB cable into the TNC. The computer should add a new COM port.
|
|
- Turn the TNC off for a few seconds, then turn it back on.
|
|
- After the blue LED flashes at least once, use the tip of a ball-point
|
|
pen to gently press the DFU button. You should see the red LED briefly
|
|
flash, and the blue LED will stop blinking.
|
|
|
|
The TNC is now ready to accept a firmware update. If you wish to abandon
|
|
this process, use the same pen to gently depress the reset button.
|
|
|
|
## Update the Firmware
|
|
|
|
In this section we are going to:
|
|
|
|
- Start the STM32CubeProgrammer
|
|
- Connect to the TNC's bootloader
|
|
- Load the firmware file
|
|
- Write the firmware to the TNC
|
|
|
|
### Start the STM32CubeProgrammer
|
|
|
|
When the STM32CubeProgrammer was installed, it should have put an
|
|
application shortcut on your desktop.
|
|
|
|

|
|
|
|
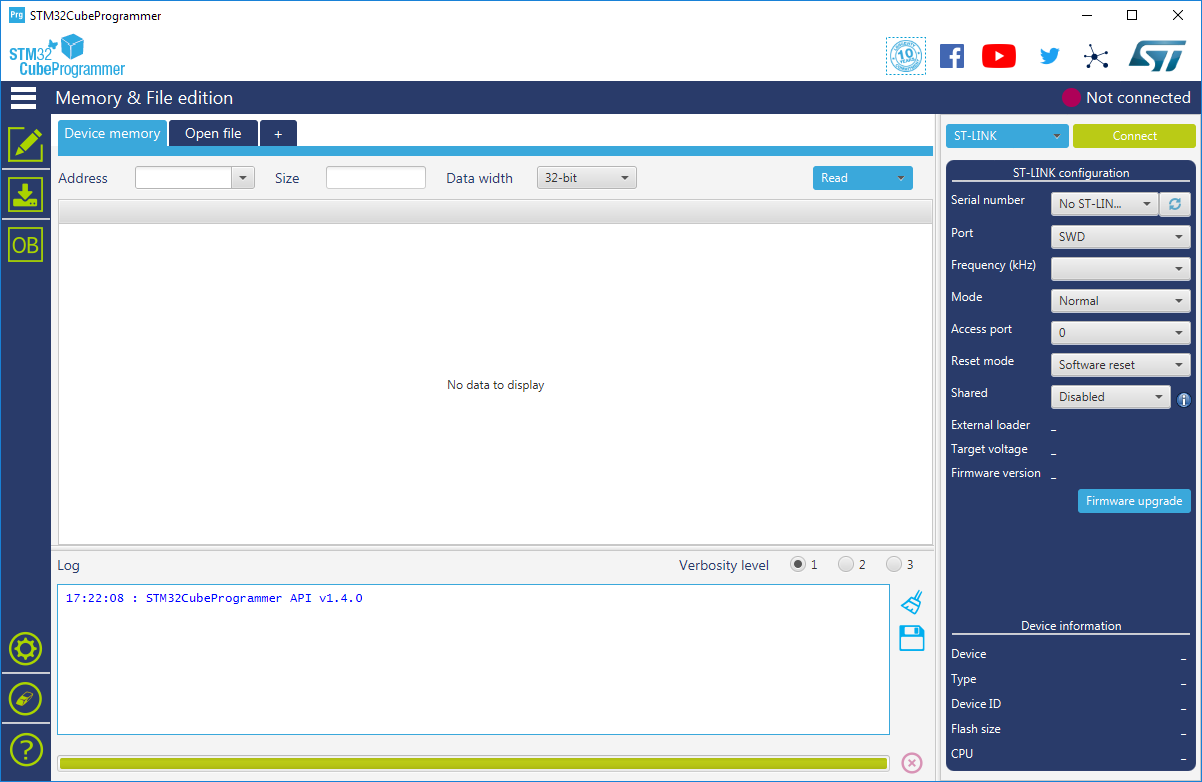
Find the shortcut and click it. The firmware update software will start.
|
|
|
|
|
|
|
|
### Connect to TNC
|
|
|
|
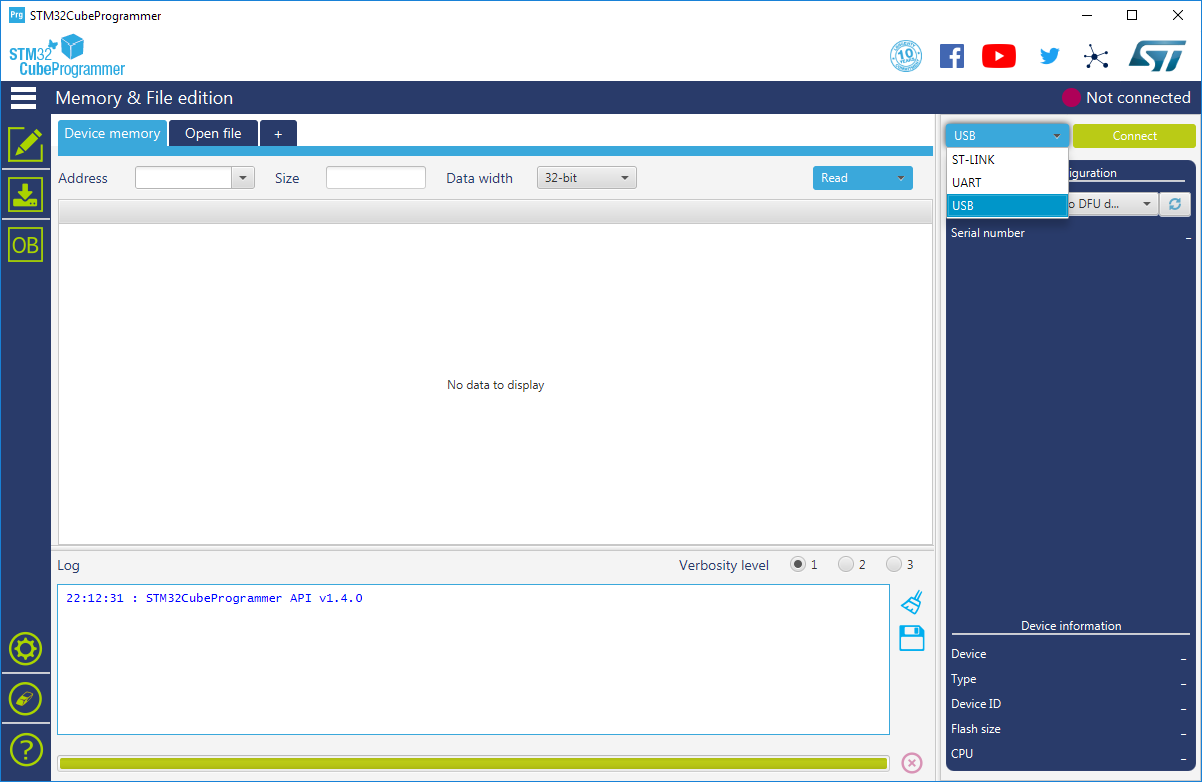
In the upper left, there is a blue and a yellow button. Press the blue
|
|
button to access the drop-down menu and select "USB".
|
|
|
|
|
|
|
|
You should see a device named "USB1" available. If you do not see it, press
|
|
the refresh button next to the port selection dropdown.
|
|
|
|
**If you still do not see a device labeled USB1, press the reset button and
|
|
repeat the steps to enter the bootloader. If you still do not see the
|
|
device listed, go the the [Troubleshooting](#troubleshooting) section.**
|
|
|
|
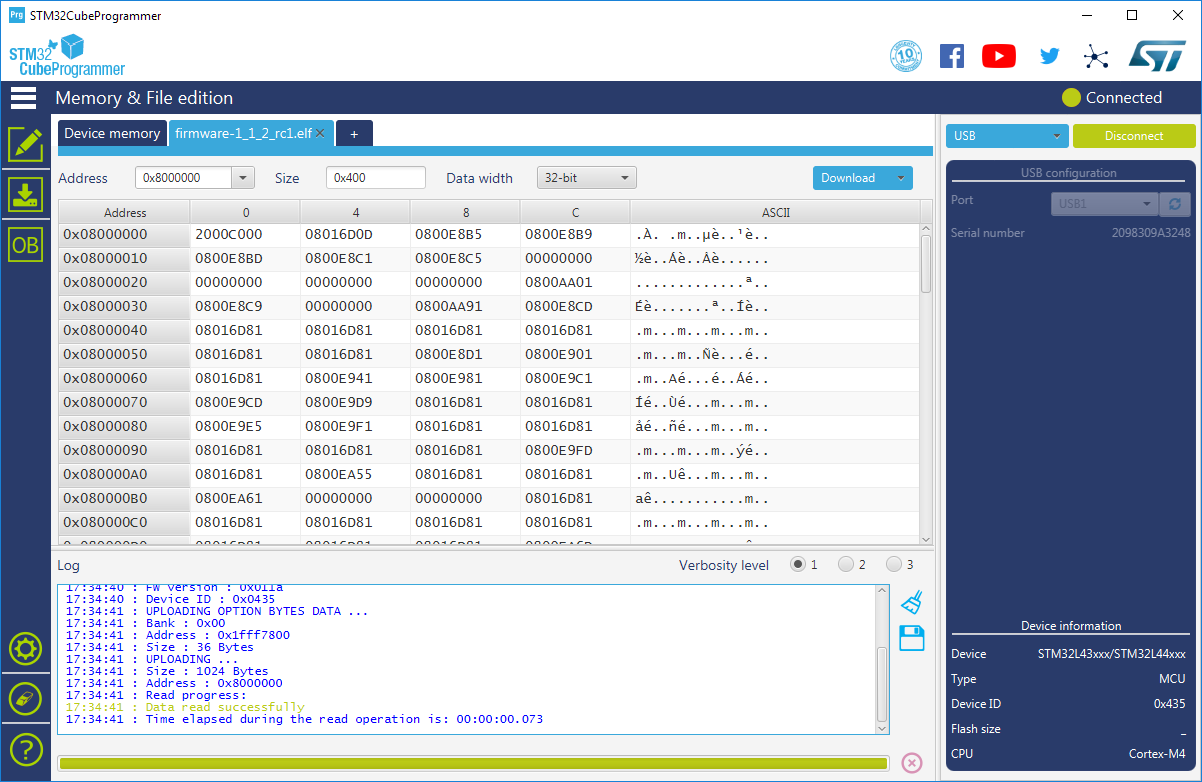
Press the yellow "Connect" button to connect to the TNC. The device's
|
|
firmware will be downloaded from the TNC.
|
|
|
|
|
|
|
|
### Load the Firmware File
|
|
|
|
Click on the "Erasing and Programming" icon on the left side of the
|
|
programmer.
|
|
|
|

|
|
|
|
This will bring up the firmware update screen.
|
|
|
|

|
|
|
|
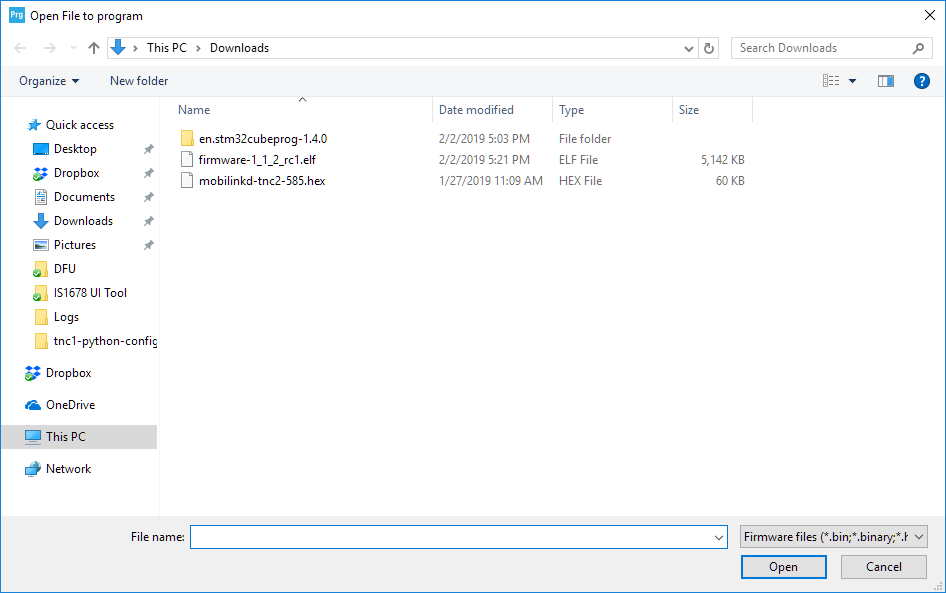
Click on the "Browse" button.
|
|
|
|
|
|
|
|
Select the firmware file that was downloaded at the beginning of this process.
|
|
|
|
|
|
|
|
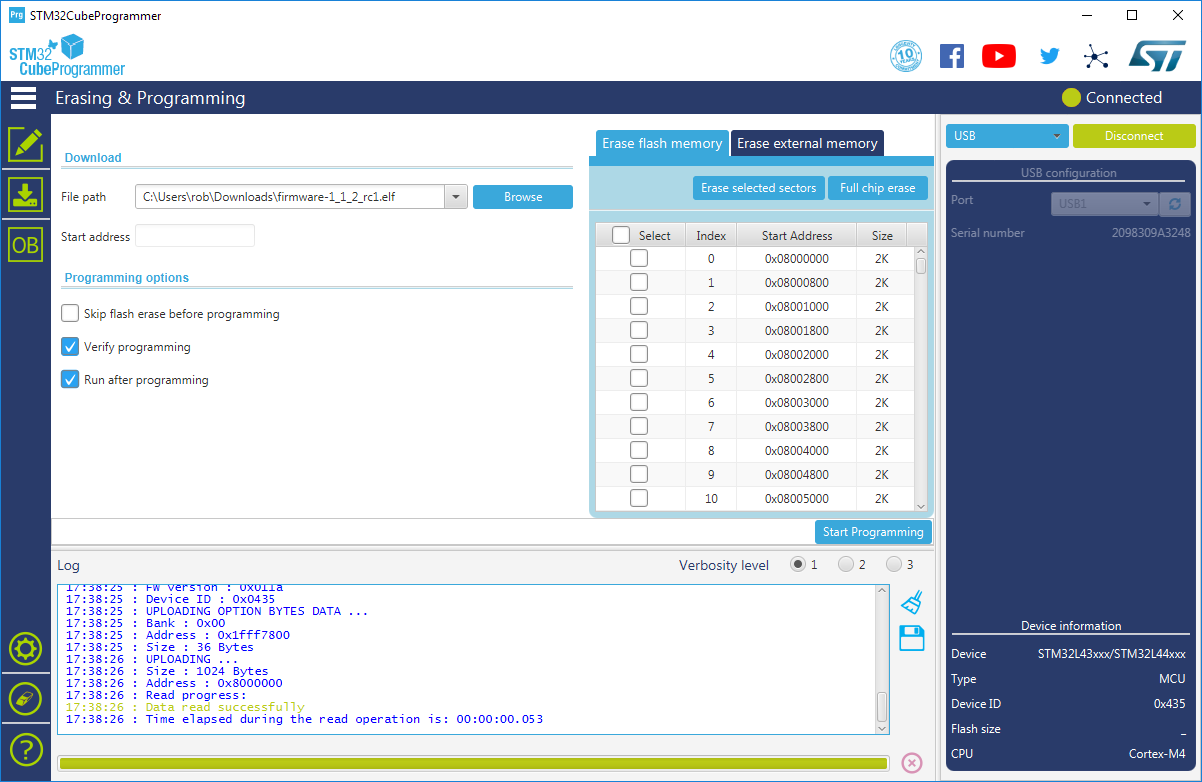
Ensure that the options "Verify programming" and "Run after programming" are
|
|
both enabled.
|
|
|
|
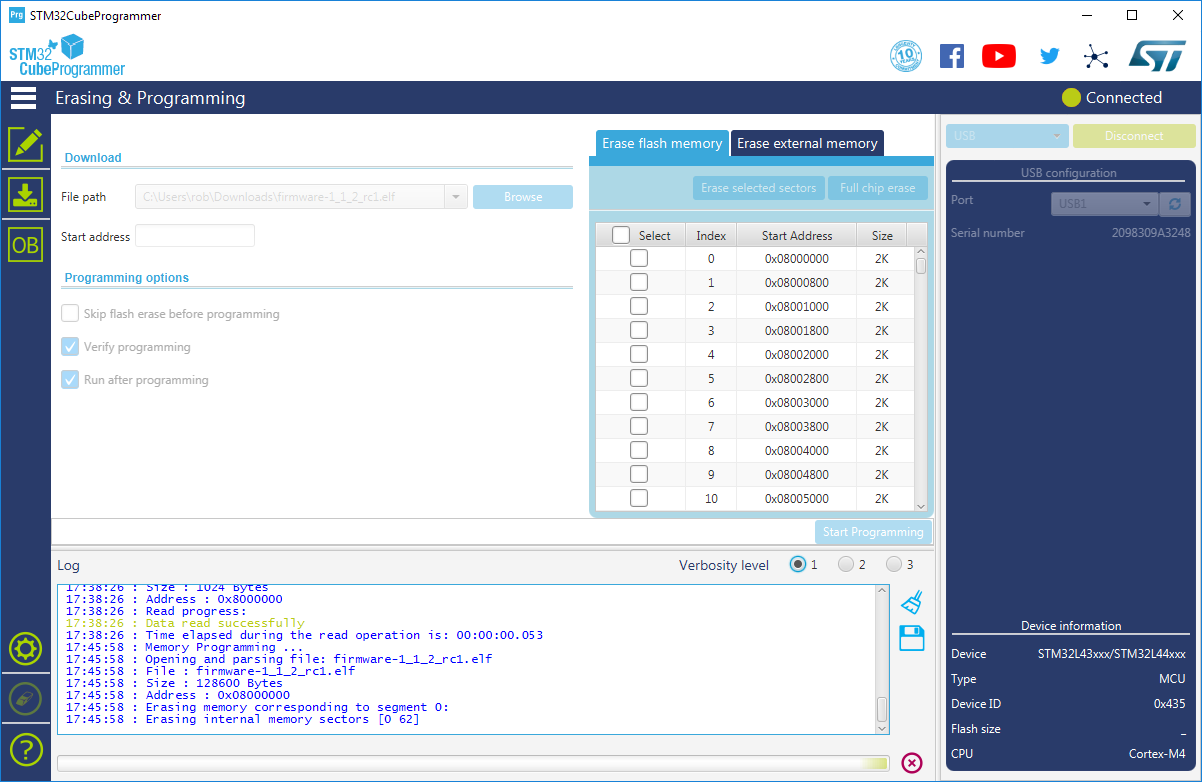
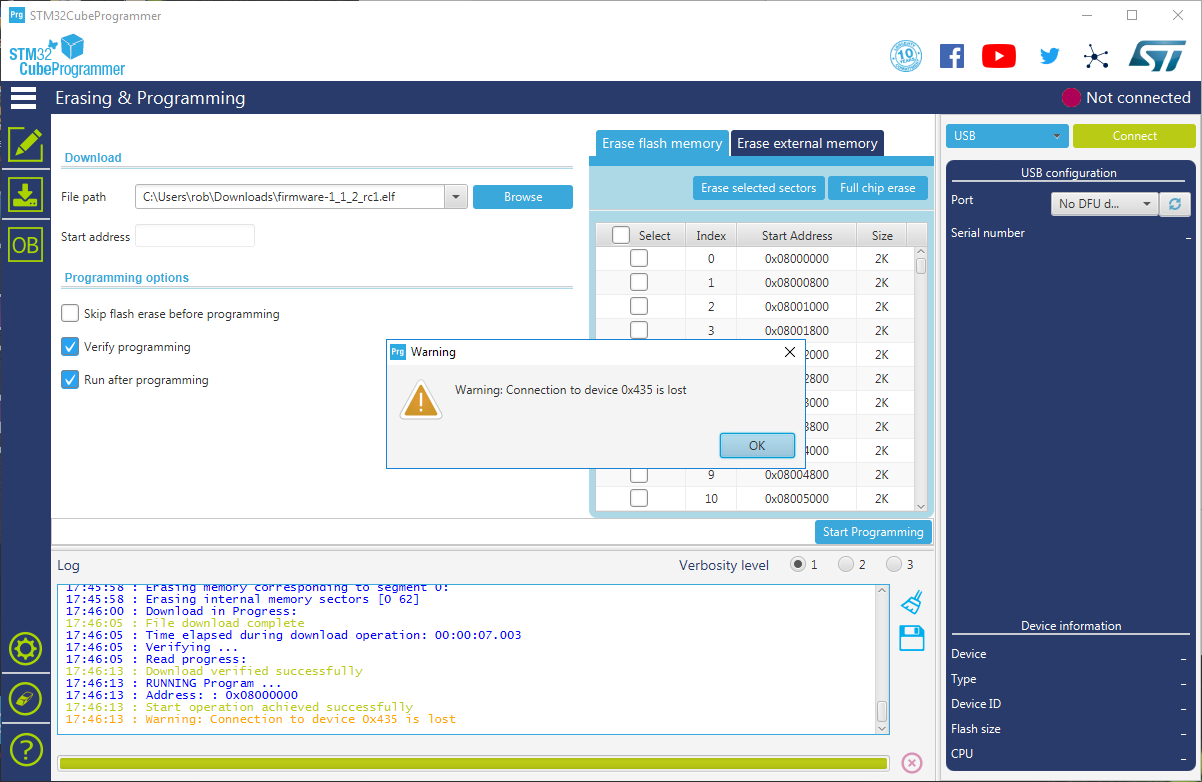
Press the "Start Programming" button.
|
|
|
|
|
|
|
|
When it is complete, the TNC will restart and disconnect from the
|
|
STM32CubeProgrammer application.
|
|
|
|
|
|
|
|
This warning message is normal.
|
|
|
|
You can now close the STM32CubeProgrammer and launch the config app on either
|
|
Android or iOS and verify that the firmware version is correct.
|
|
|
|
# Troubleshooting
|
|
|
|
This section is very brief for now.
|
|
|
|
## TNC is not available in programmer
|
|
|
|
There are a number of possible causes for the TNC not showing up in the programmer.
|
|
|
|
### Is Bootloader Active
|
|
|
|
The first thing to check is that the bootloader is active. If the blue LED flashes or breathes,
|
|
the bootloader is not active. See [Cannot Enter Bootloader/DFU](#Cannot-Enter-Bootloader-DFU) below.
|
|
|
|
### Check Your USB Cable
|
|
|
|
The TNC has a USB serial port. You should see a notification when the TNC is first attached via USB,
|
|
before entering the bootloader, that a COM port is being added. If you do not see this occur, verify
|
|
that your USB cable is OK. Try a different cable. There are a number of "charge-only" cables being
|
|
sold these days. These will not work. You will need a USB data cable.
|
|
|
|
### Old STM DFU Driver Installed
|
|
|
|
Open the device manager.
|
|
|
|
Check whether “STM Device in DFU Mode” appears under the “Universal Serial Bus Controllers”
|
|
|
|
If this device appears, right click the device, and select "Uninstall device".
|
|
|
|
Open a file browser and go to:
|
|
|
|
C:\Program Files (x86)\STMicroelectronics\STM32Cube\STM32CubeProgrammer\Drivers\DFU_Driver
|
|
|
|
Run the "STM32Bootloader.bat" file in there to re-install the DFU device drivers.
|
|
|
|
Refresh the device list in the STM32CubeProgrammer window.
|
|
|
|
## Cannot Enter Bootloader/DFU
|
|
|
|
Verify that the TNC's blue LED indicates that the TNC is disconnected by
|
|
being in the "slow breathing" state.
|
|
|
|
If the TNC is connected to any device (blue LED indicating a double blip
|
|
or triple blip), the TNC will not enter DFU mode. Find the app that is
|
|
connected and disconnect it.
|