|
|
||
|---|---|---|
| .. | ||
| console-decoders | ||
| CubeCell_DIY_Mapper.ino | ||
| README.md | ||
README.md
CubeCell-Helium-Mapper
Contributed by Helium Network user @Jas-Williams https://github.com/jas-williams/CubeCell-Helium-Mapper
This is a version of the CubeCell demo app with a few tweaks to help the SAT aquisition and shows the information on the OLED display with no Satelite Lock Updates happen every 2 minutes with a satelite lock location updates whils moving updates every 10 seconds whilst stopped update every 60 seconds with a sleep in between.
A quick press on the user button puts the GPS in a sleep mode after a position update. The sleep mode does an update every 6hrs then goes back to sleep pressing the user button again wakes up the Cubecell and it goes back to normal operation.
The payload and the decoder allows the data to update Mappers and Cargo
Integration information with Mappers
Integration information for Cargo
Using a Heltec CubeCell 6502 board with OLED display. Please follow every instruction step below from top to bottom.
Heltec CubeCell Board Product Page
Install Serial Driver
Find Directions here.
Install CubeCell Board Support
Find Directions here.
Now go and perform the manual changes to the Payload and Preamble
Set Datarate to DR_3 following this Helium Guide
Setup Board Parameters
Arduino IDE:

Select Tools -> Board: -> CubeCell -> CubeCell-GPS
Upload CubeCell_DIY_Mapper example
Arduino IDE:
Select File -> Open -> CubeCell_DIY_Mapper.ino
Select Tools -> Port: "COM# or ttyACM#"
Enter DevEUI(msb), AppEUI(msb), and AppKey(msb) from Helium Console, at lines 27, 28, 29. MSB Format from console press the expand button to get the ID's in the format shown below.
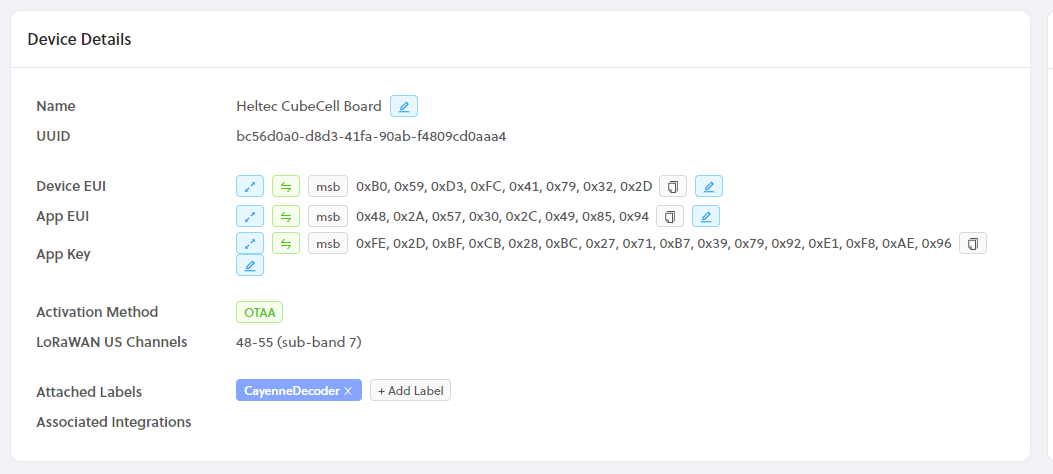
uint8_t devEui[] = { 0x00, 0x00, 0x00, 0x00, 0x00, 0x00, 0x00, 0x00 };
uint8_t appEui[] = { 0x00, 0x00, 0x00, 0x00, 0x00, 0x00, 0x00, 0x00 };
uint8_t appKey[] = { 0x00, 0x00, 0x00, 0x00, 0x00, 0x00, 0x00, 0x00, 0x00, 0x00, 0x00, 0x00, 0x00, 0x00, 0x00, 0x00 };
Setup Application Parameters
Arduino IDE: - Note Region Specific Settings
Select Tools -> LORAWAN_REGION -> REGION_EU868 or Select Tools -> LORAWAN_REGION -> REGION_US915
Select Tools -> LORAWAN_CLASS -> CLASS_A
Select Tools -> LORAWAN_NETMODE -> OTAA
Select Tools -> LORAWAN_ADR -> OFF
Select Tools -> LORAWAN_Net_Reservation -> OFF
Select Tools -> LORAWAN_AT_SUPPORT -> OFF
Select Tools -> LORAWAN_RGB -> ACTIVE or Select Tools -> LORAWAN_RGB -> DEACTIVE // To turn off Bright Lora LED
Select Tools -> LORAWAN Debug Level -> "Freq && DIO"
Select Sketch -> Upload.
Wait for Done uploading message
Debug using Serial connection via USB
Select Tools -> Serial Monitor Serial Monitor Window
Select 115200 baud from bottom right dropdown.
Wait for device to successfully join, may take 1-3 min, and show several failures. Do not be alarmed by the failures, it is expected.
Setting up a Decoder
In helium Console create a new function call it Heltec decoder => Type Decoder => Custom Script
Copy and paste the decoder into the custom script pane
function Decoder(bytes, port) {
  return {
    latitude:
      ((bytes[0] << 24) | (bytes[1] << 16) | (bytes[2] << 8) | bytes[3]) / 1E7,
    longitude:
      ((bytes[4] << 24) | (bytes[5] << 16) | (bytes[6] << 8) | bytes[7]) / 1E7,
    altitude:
      0,
    sats:
      (bytes[9]),
    speed:
      (((bytes[8]))/1.609).toFixed(2),
    battery:
      (((bytes[10])*0.2)/10).toFixed(2)

  };
}
Create a new Label for the decoder then save the function
you need to create two integrations one for CARGO and one for MAPPERS add the label created above to both integrations
The payload and the decoder allows the data to update
Integration information with Mappers
Integration information for Cargo
Here is a youtube Video uploaded by Helium user @Joey but note Joey adds 3 lables you only need one label assign the one label to the device, function, and the 2 integrations Youtube Video from Joey