|
|
||
|---|---|---|
| .github | ||
| datasette | ||
| docs | ||
| tests | ||
| .coveragerc | ||
| .dockerignore | ||
| .gitattributes | ||
| .gitignore | ||
| .isort.cfg | ||
| .prettierrc | ||
| Dockerfile | ||
| LICENSE | ||
| MANIFEST.in | ||
| README.md | ||
| codecov.yml | ||
| package-lock.json | ||
| package.json | ||
| pytest.ini | ||
| setup.cfg | ||
| setup.py | ||
| update-docs-help.py | ||
README.md
Datasette


![]()
![]()
An open source multi-tool for exploring and publishing data
Datasette is a tool for exploring and publishing data. It helps people take data of any shape or size and publish that as an interactive, explorable website and accompanying API.
Datasette is aimed at data journalists, museum curators, archivists, local governments and anyone else who has data that they wish to share with the world.
Explore a demo, watch a video about the project or try it out by uploading and publishing your own CSV data.
- datasette.io is the official project website
- Latest Datasette News
- Comprehensive documentation: https://docs.datasette.io/
- Examples: https://datasette.io/examples
- Live demo of current main: https://latest.datasette.io/
- Support questions, feedback? Join our GitHub Discussions forum
Want to stay up-to-date with the project? Subscribe to the Datasette Weekly newsletter for tips, tricks and news on what's new in the Datasette ecosystem.
Installation
If you are on a Mac, Homebrew is the easiest way to install Datasette:
brew install datasette
You can also install it using pip or pipx:
pip install datasette
Datasette requires Python 3.6 or higher. We also have detailed installation instructions covering other options such as Docker.
Basic usage
datasette serve path/to/database.db
This will start a web server on port 8001 - visit http://localhost:8001/ to access the web interface.
serve is the default subcommand, you can omit it if you like.
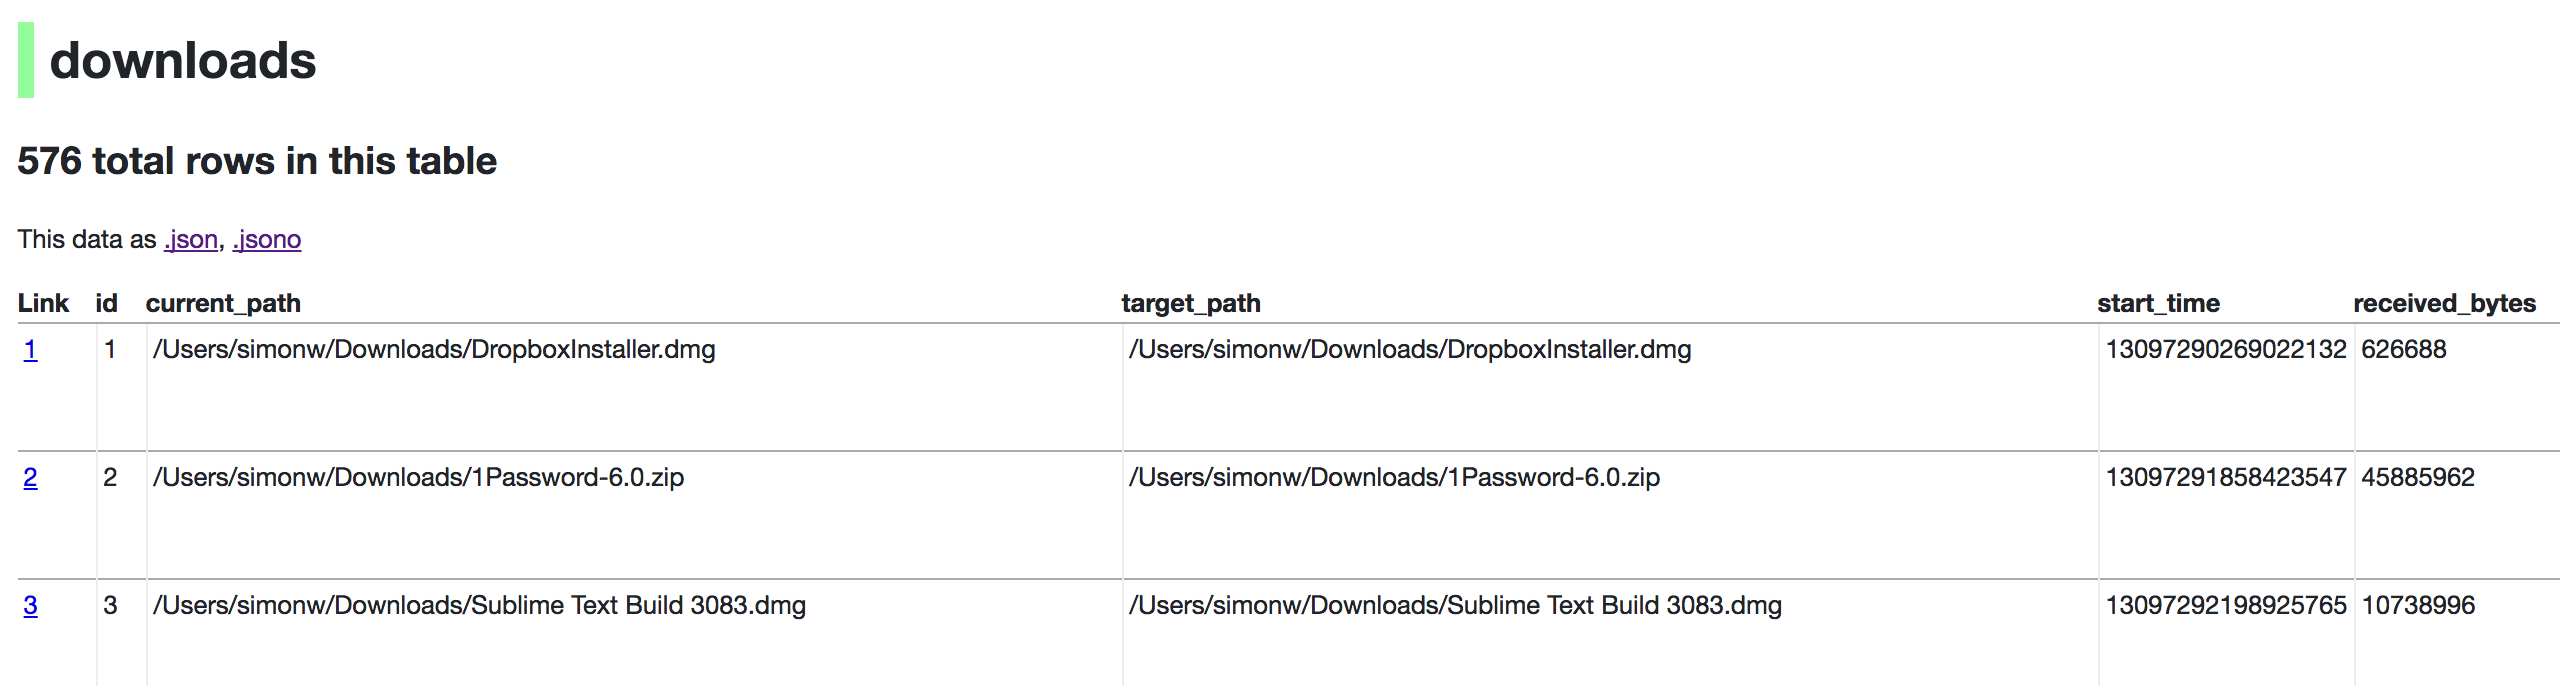
Use Chrome on OS X? You can run datasette against your browser history like so:
datasette ~/Library/Application\ Support/Google/Chrome/Default/History
Now visiting http://localhost:8001/History/downloads will show you a web interface to browse your downloads data:
metadata.json
If you want to include licensing and source information in the generated datasette website you can do so using a JSON file that looks something like this:
{
    "title": "Five Thirty Eight",
    "license": "CC Attribution 4.0 License",
    "license_url": "http://creativecommons.org/licenses/by/4.0/",
    "source": "fivethirtyeight/data on GitHub",
    "source_url": "https://github.com/fivethirtyeight/data"
}
Save this in metadata.json and run Datasette like so:
datasette serve fivethirtyeight.db -m metadata.json
The license and source information will be displayed on the index page and in the footer. They will also be included in the JSON produced by the API.
datasette publish
If you have Heroku or Google Cloud Run configured, Datasette can deploy one or more SQLite databases to the internet with a single command:
datasette publish heroku database.db
Or:
datasette publish cloudrun database.db
This will create a docker image containing both the datasette application and the specified SQLite database files. It will then deploy that image to Heroku or Cloud Run and give you a URL to access the resulting website and API.
See Publishing data in the documentation for more details.