|
|
||
|---|---|---|
| .main-meta | ||
| avr128da48-cnano-adc-temperature-measurement-mplab.X | ||
| images | ||
| .gitignore | ||
| Jenkinsfilek8s | ||
| README.md | ||
| cloudprovider.yml | ||
README.md

AVR128DA48 ADC Temperature Measurement
Objective
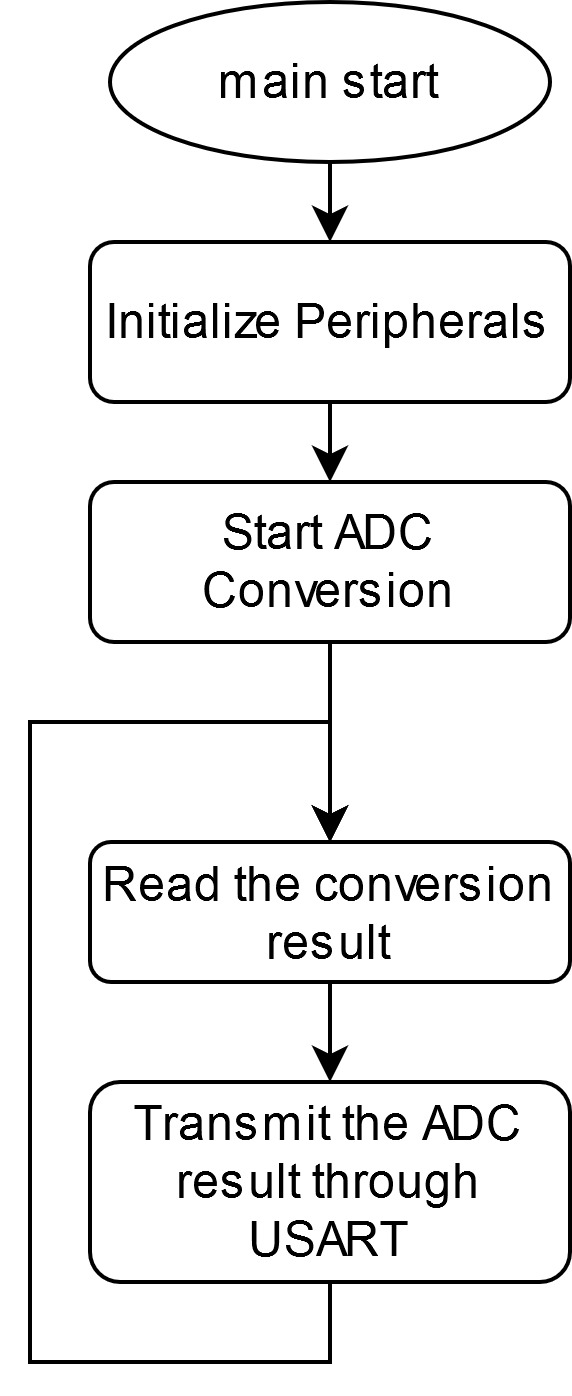
In this application, the ADC will be used to measure the temperature, and the results will be transmitted through USART.
The software diagram of this application is presented in the figure below.
Related Documentation
- Using 12-Bit ADC for Conversions, Accumulation, and Triggering Events
- AVR128DA48 Product Family Page
- AVR128DA48 Data Sheet
Software Used
- MPLAB® X IDE 5.40 or newer (microchip.com/mplab/mplab-x-ide)
- MPLAB® XC8 2.20 or newer compiler (microchip.com/mplab/compilers)
- MPLAB® Data Visualizer plugin 1.1
- AVR-Dx_DFP 1.4.75
Hardware Used
- AVR128DA48 Curiosity Nano (DM164151)
- Curiosity Nano Base for Click boards™ (AC164162)
Setup
The AVR128DA48 Curiosity Nano Development Board is used as the test platform. To integrate the POT Click board, the Curiosity Nano Base for Click boards is used.
The following configurations must be made:
| Pin | Configuration |
|---|---|
| PC0 (TX) | Digital Output |
Operation
-
Connect the board to the PC.
-
Open the avr128da48-cnano-adc-temperature-measurement-mplab.X project in MPLAB® X IDE.
-
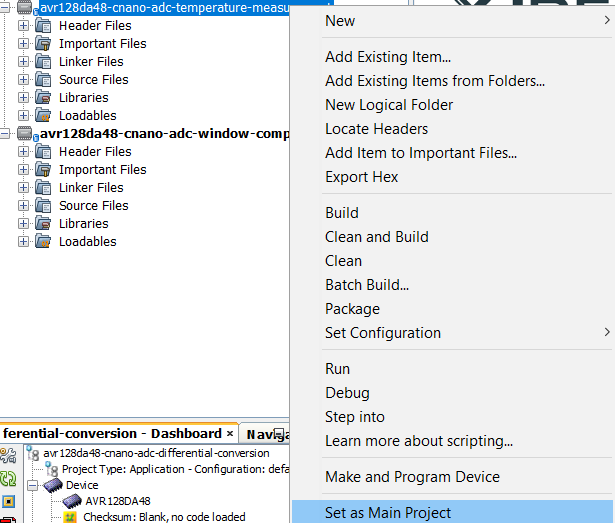
Set avr128da48-cnano-adc-temperature-measurement-mplab.X project as main project. Right click on the project in the Projects tab and click Set as Main Project:
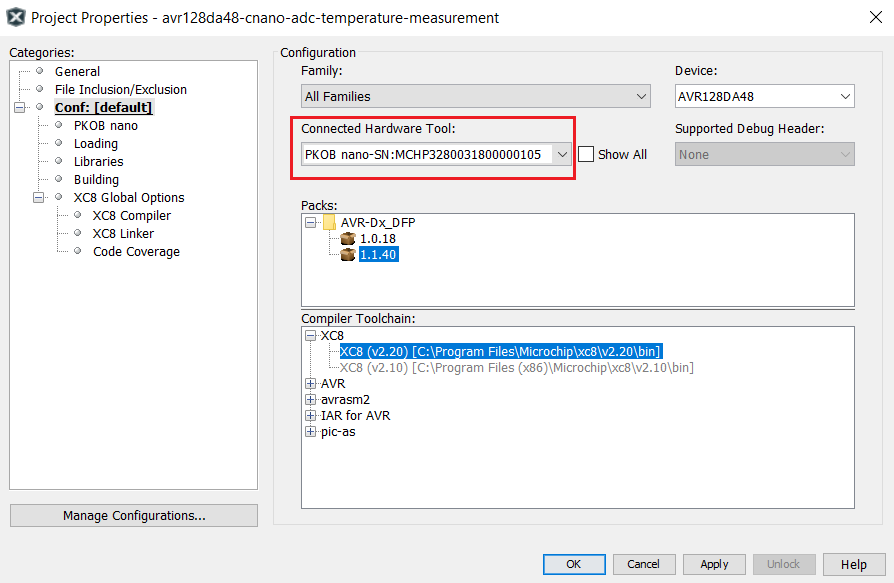
- Select the AVR128DA48 Curiosity Nano in the Connected Hardware Tool drop down list of the project settings:
- Right click on the project and click Properties;
- Select the AVR128DA48 Curiosity Nano (click on the SN) in the Connected Hardware Tool list and then click OK:
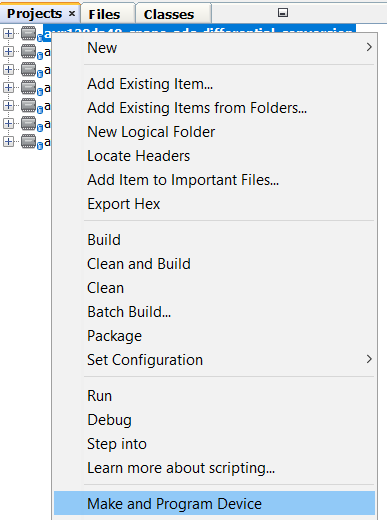
- Program the project to the board: right click on the project and click Make and Program Device:
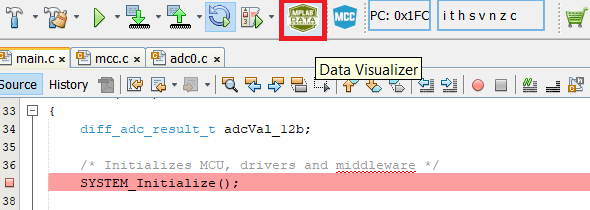
- Open the Data Visualizer
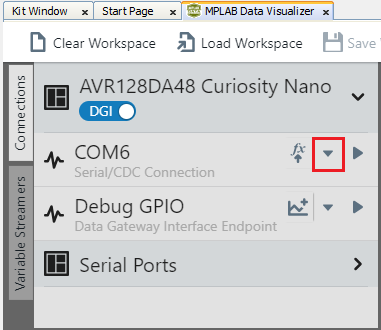
- From the Curiosity Nano COMn port, open the drop down list:
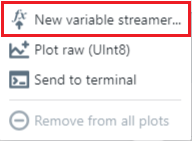
- From the drop down list, select New variable streamer...:
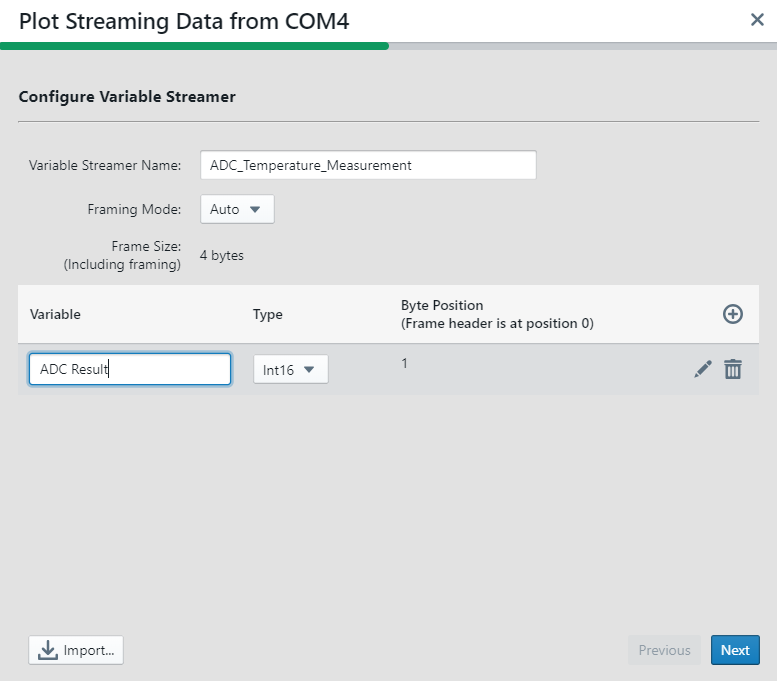
- Configure the Variable Streamer Name and add the desired variable, then click Next:
- Select all the variables to plot, select New axis per data type, and click Finish:

- From the Curiosity Nano COMn port, open the drop down list:
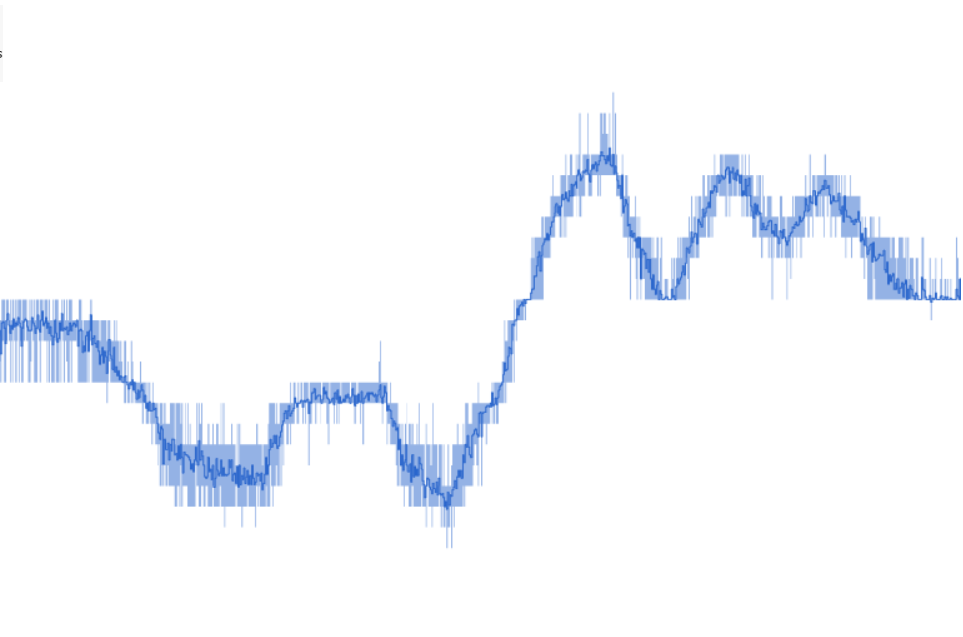
Result:
After alternatively cooling and warming up the microcontroller (after starting the application), the ADC result will be plotted on the graph:
Summary
This application showcases a basic example of how to measure the temperature using the ADC on the AVR-DA devices.