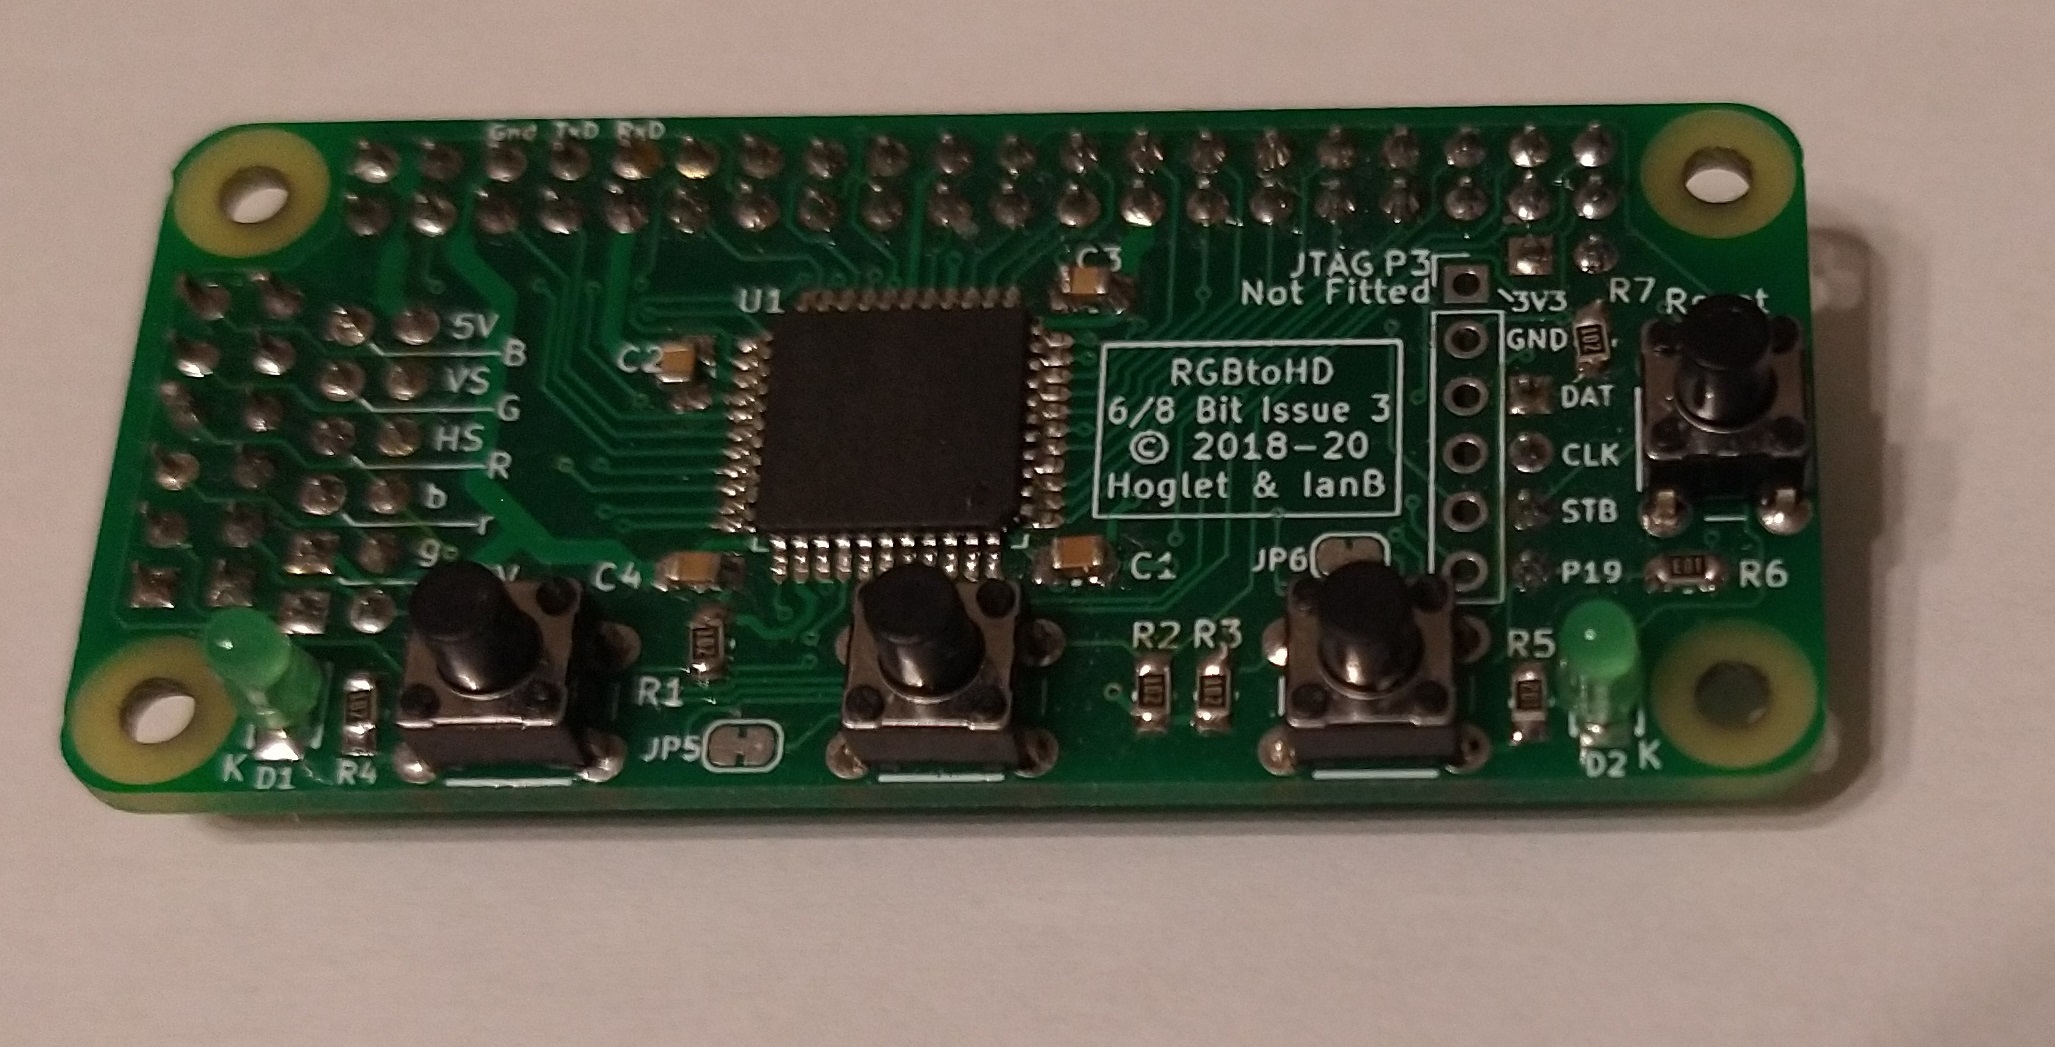
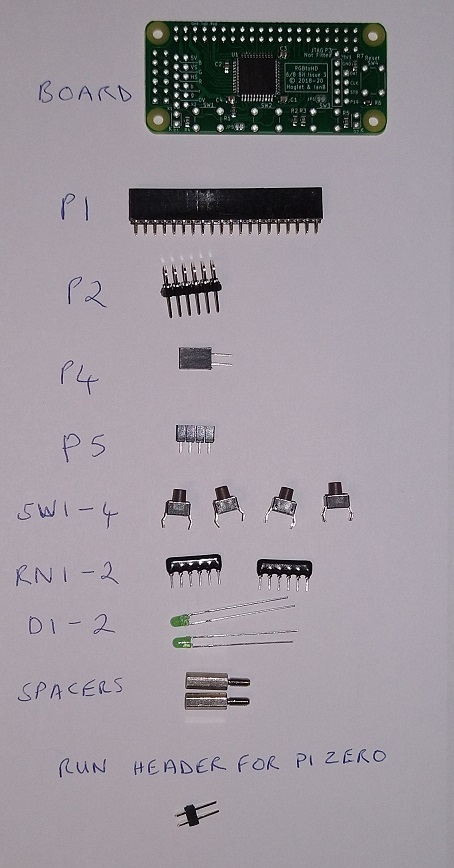
Main Board:
Top
Bottom
Parts
Additional assembly info:
With the new 12 bit kits everything is already fitted except P2 and P5 (P5 only required for analog & 12 bit extender boards)
P2 should be fitted slightly away from the pcb to allow clearance for an IDC header.
If you have a 12 way IDC header, fit that onto P2 (flat side to pcb) before soldering to hold it at the correct position
If you have an analog board you won't have the IDC header but you can use a micro SD card as a shim between the plastic part of P2 and the PCB as it is exactly the right thickness.
Cut off the legs of the 4 switches flush with the PCB before soldering so there is no protusion which would make it difficult to plug an IDC header into P2
The cathode of the leds is marked with a "K" and is the shorter lead
NOTE P5 will only be supplied / fitted if you have an analog or extender board
Fit the 4 way socket P5 into holes marked DAT CLK STB P19 if using the analog board.
Fit the 4 way socket P5 in the holes maked grn1 red0 grn0 blu0 if using the 12 bit extender board.
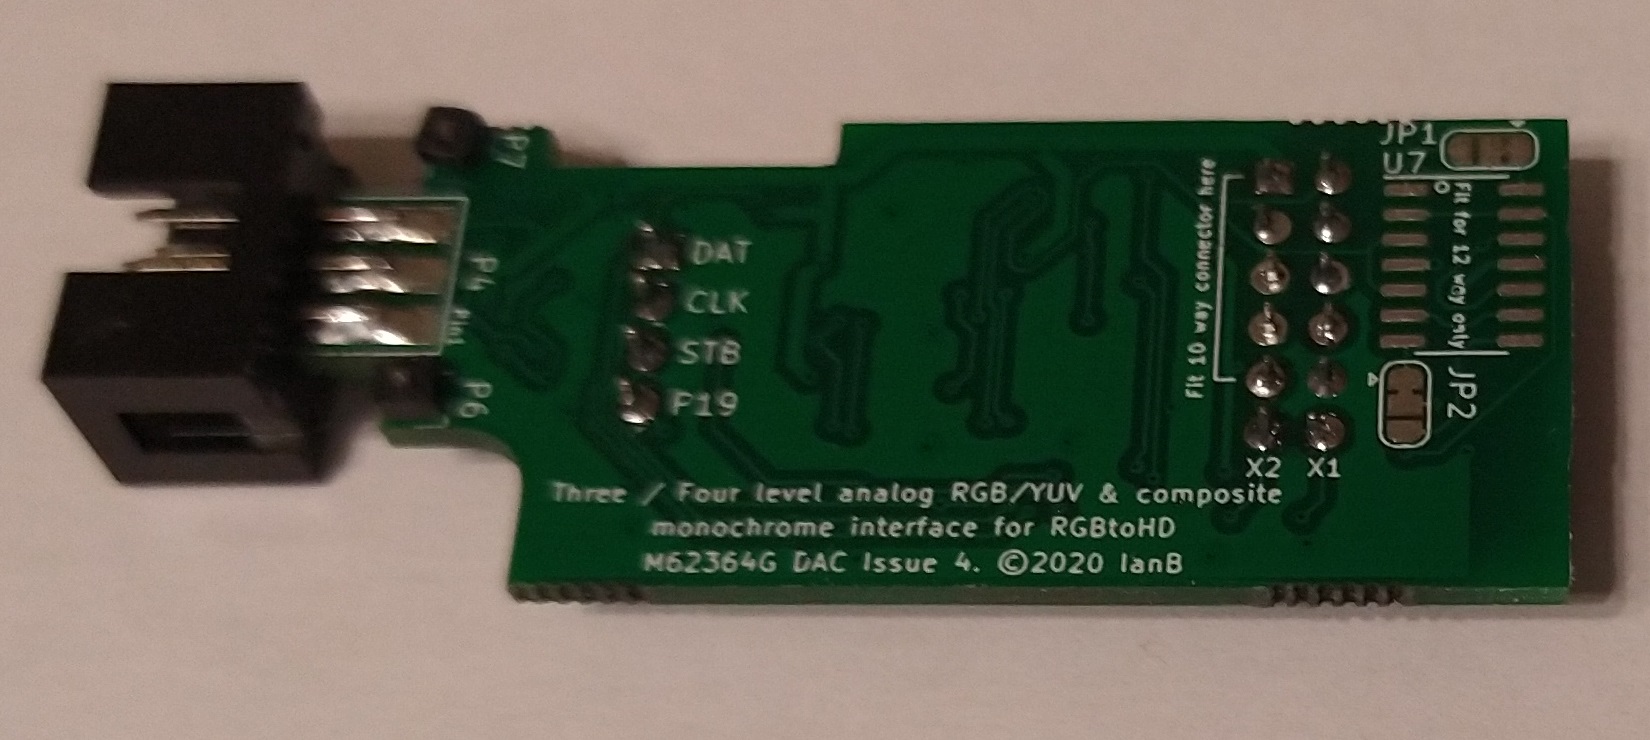
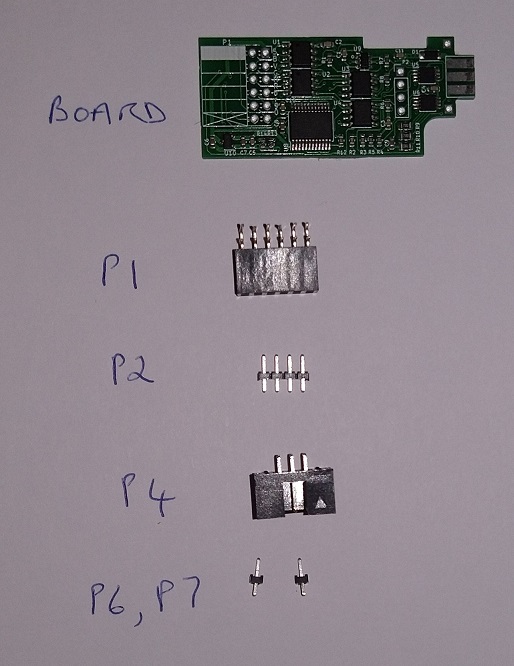
Analog Board:
Top
Bottom
Parts
Additional assembly info:
IMPORTANT
The long pin side of P2 must be soldered in the board. It is a low profile connector and the short side of the pins mate with the connector on the main board.
Tin the pads of P4 first, then push onto the pins before soldering as that will keep it centred. (Note the orientation and position of pin1)
Fit Long ends of P6 & P7 into pcb same as P2 above but from the other side, then cut off the other ends of the pins at the plastic. They are intended to act as feet resting on the Pi's camera connector to stop the board making contact with the Pi zero.
12 bit extender board:
The through hole parts are fitted in exactly the same way as the analog board except a 16 way header is fitted instead of a 6 way one for P4.
The diode D1 is not fitted and JP5 should be bridged with solder.
Cabling:
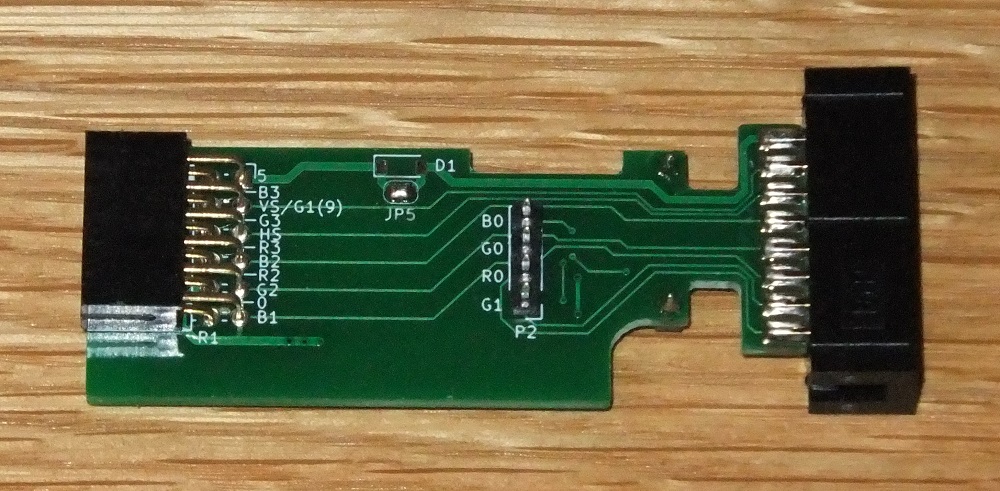
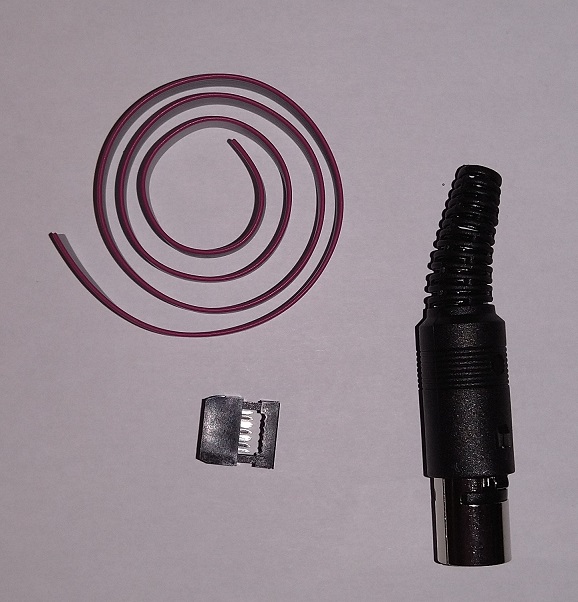
If you have ordered just the main board you will be supplied with a 12 way IDC header and 12 way ribbon cable:
This should be connected as follows:
BBC micro / Master 128 / Electron (3 bit RGB TTL)
| RGBtoHDMI 12 way IDC | 6 way DIN | Notes |
|---|---|---|
| Pin 1 red1 | ||
| Pin 2 blue2 | ||
| Pin 3 GND | Pin 5 | |
| Pin 4 green2 | ||
| Pin 5 red2 | ||
| Pin 6 blue2 | ||
| Pin 7 RED3 | Pin 1 | |
| Pin 8 HSYNC | Pin 4 | |
| Pin 9 GREEN3 | Pin 2 | |
| Pin 10 VSYNC | ||
| Pin 11 BLUE3 | Pin 3 | |
| Pin 12 +5V | Pin 6 | Leave unconnected if powering Pi externally |
If you have ordered an analog board as well, you will be supplied with a 6 way IDC header and 6 way ribbon cable:
This should be connected as follows:
BBC micro / Master 128 / Electron (3 bit RGB TTL)
| RGBtoHDMI 6 way IDC | 6 way DIN | Notes |
|---|---|---|
| Pin 1 GND | Pin 5 | |
| Pin 2 SYNC | Pin 4 | |
| Pin 3 BLUE | Pin 3 | |
| Pin 4 GREEN | Pin 2 | |
| Pin 5 RED | Pin 1 | |
| Pin 6 +5V | Pin 6 | Leave unconnected if powering Pi externally |
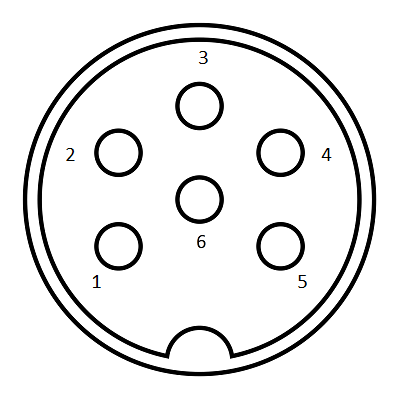
6 Way DIN plug pinout (viewed from solder side)
Pi zero and case mounting:
Additional info:
You need a Pi zero or zero-W with 40 way header (not supplied with kit). You can either purchase a Pi zero with header already fitted or purchase a Pi zero and separate header from one of the Pi zero retailers and fit it yourself.
More details Here: Bill of Materials (Pi Zero)
Solder the supplied two pin header into the "RUN" connector on the Pi zero. This connects the reset signal to the main board so if it isn't fitted the reset button will not work but this is not essential as you can reset the Pi using the reboot option in the info menu.
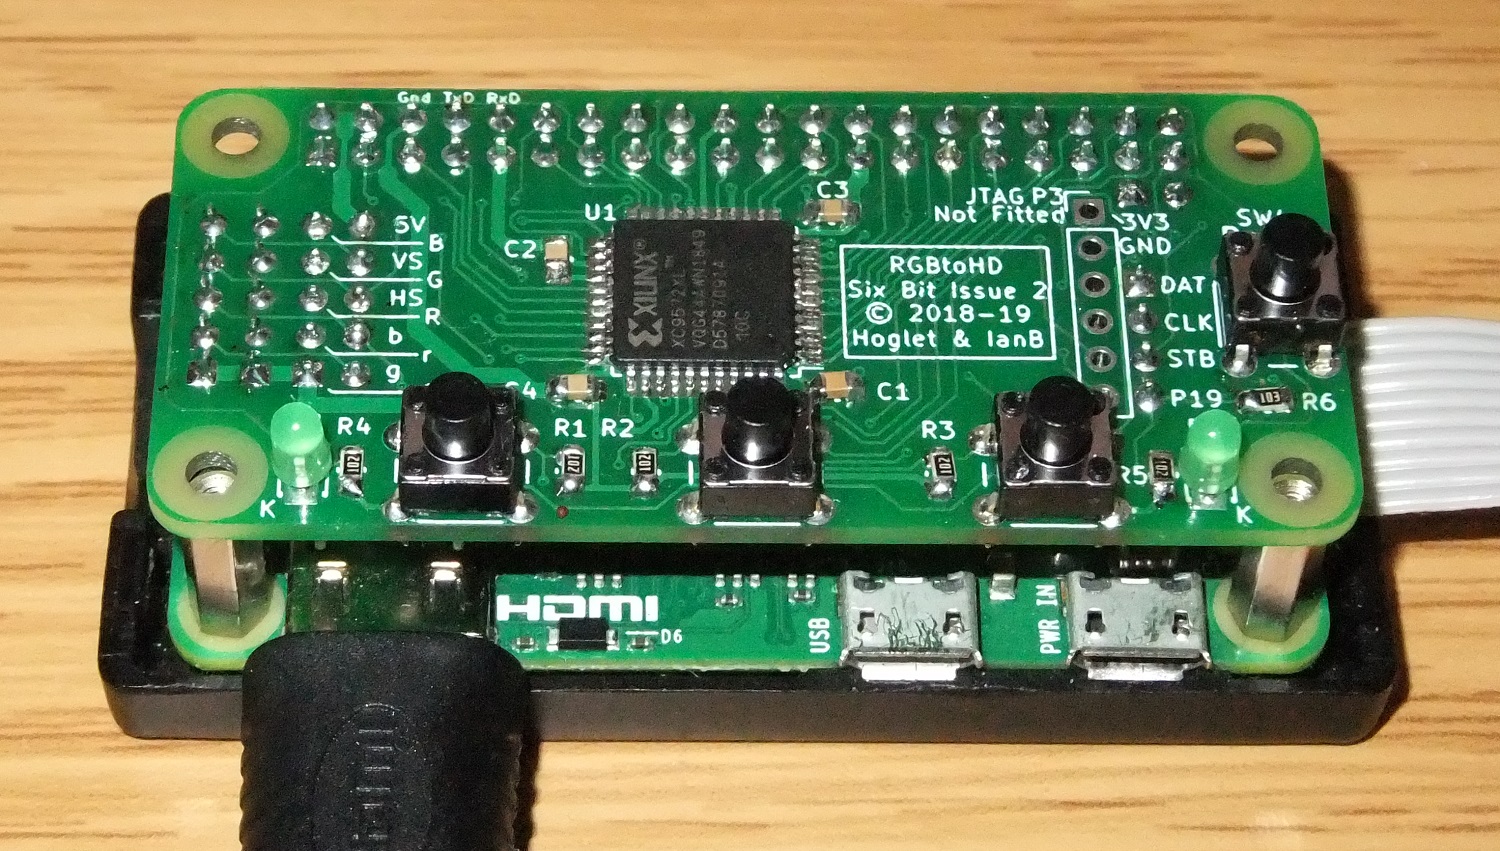
When connecting the main board to the Pi make certain that the connector is pushed onto the right pins. If you are "off by one" you will almost certainly destroy the Pi and maybe the CPLD as well when power is applied. When connected properly, the four mounting holes in the main board will be aligned with the four mounting holes in the Pi. Also do not plug or unplug the two boards or plug/unplug the RGB cable with power applied
If you have an analog board, that should be plugged into the 12 way connector with the 4 way header also plugged in at the other end of the board.
Case
A suitable case is available on eBay:
Search for: Black Plastic Protective Case for Raspberry Pi Zero
e.g. Ebay (If this link is sold out, search for the description above as there are multiple sellers)
Also available from China at a cheaper price e.g.
Ebay
The case is supplied with 4 bolts, use two of them to screw the Pi zero into the case and use the two supplied spacers in the other two holes.
File approx 0.5mm off the end of the spacers to ensure they don't push out of the bottom of the case
(If you temporarily screw a case bolt into the end of the spacer you can use a screwdriver to screw the spacer into the case)
Use the two remaining bolts to screw the main board into the spacers
Drilling Template for the case
You will also need to cut a slot in one end of the case for the 12 way ribbon cable or the 6 way analog connector.
Even if you don't want to drill and cut the top half of case it's still worth getting one as the bottom half provides a stable platform for the whole assembly (see photos)
Software
Download the latest version from here:
https://github.com/hoglet67/RGBtoHDMI/releases
Zip of current version: https://github.com/hoglet67/RGBtoHDMI/releases/download/20201126_2d102ae/RGBtoHDMI_20201126_2d102ae.zip
Unzip and write the files to a micro SD card.
Insert into the Pi zero and connect the above lead to a BBC micro. (No PSU is required as power comes from the Beeb)
Visit the quick start guide to set things up:
Construction (current designs)
- Bill of Materials (12-Bit Board)
- Bill of Materials (12-Bit Extender)
- Bill of Materials (Analog Board)
- Bill of Materials (TTL Buffer Boards)
- Bill of Materials (Pi Zero)
- Cables
- Assembled boards for sale
Construction (older designs)
- Bill of Materials (6/8-Bit Board)
- Bill of Materials (6-Bit Board)
- Bill of Materials (3-Bit Board)
- Bill of Materials (Atom Board)
- Assembly Notes (Atom Board)
- CPLD Programming
User Documentation
