|
|
||
|---|---|---|
| Not_working_with_v2 | ||
| csdr@6ef2a74206 | ||
| doc | ||
| src | ||
| .gitignore | ||
| BBC.jpg | ||
| LICENCE | ||
| README.md | ||
| easytest.sh | ||
| fm2ssb.sh | ||
| ft8menu.sh | ||
| install.sh | ||
| rtlmenu.sh | ||
| sampleaudio.wav | ||
| snap2spectrum.sh | ||
| snapsstv.sh | ||
| sv1afnfilter.sh | ||
| testam.sh | ||
| testchirp.sh | ||
| testfmrds.sh | ||
| testfoxhunt.sh | ||
| testfreedv.sh | ||
| testfsq.sh | ||
| testnfm.sh | ||
| testopera.sh | ||
| testpocsag.sh | ||
| testrtty.sh | ||
| testspectrum.sh | ||
| testssb.sh | ||
| testsstv.sh | ||
| testvfo.sh | ||
| transponder.sh | ||
README.md
About rpitx
rpitx is a general radio frequency transmitter for Raspberry Pi which doesn't require any other hardware other than filter to avoid intererence. It can handle frequencies from 5 KHz up to 1500 MHz.
Rpitx is a software made for education on RF systems. It has not been tested for compliance with regulations governing transmissions of radio signals. You are responsible for using your Raspberry Pi legally.
A forum is available : https://groups.io/g/rpitx
_Created by Evariste Courjaud F5OEO. See Licence for using it.
Installation
Assuming a Raspbian Lite installation (stretch) : https://www.raspberrypi.org/downloads/raspbian/
Be sure to have git package installed :
sudo apt-get update
sudo apt-get install git
You can now clone the repository. A script (install.sh) is there for easy installation. You could inspect it and make steps manualy in case of any doubt. You can note that /boot/config.txt should be prompt to be modified during the installation. If it is not accepted, rpitx will be unstable.
git clone https://github.com/F5OEO/rpitx
cd rpitx
./install.sh
Reboot in order to use rpitx in a stable state. That's it !
sudo reboot
Hardware

| Raspberry Pi Model | Status |
|---|---|
| Pi Zero | OK |
| Pi ZeroW | OK |
| Pi A+ | OK |
| Pi B | Partial |
| Pi B+ | OK |
| P2 B | OK |
| Pi 3 B | OK |
| Pi 3 B+ | OK |
| Pi 4 | In beta mode |
Plug a wire on GPIO 4, which is Pin 7 of the GPIO header (header P1). This acts as the antenna. The optimal length of the wire depends on the frequency you want to transmit on, but it works with a few centimeters for local testing.
How to use it
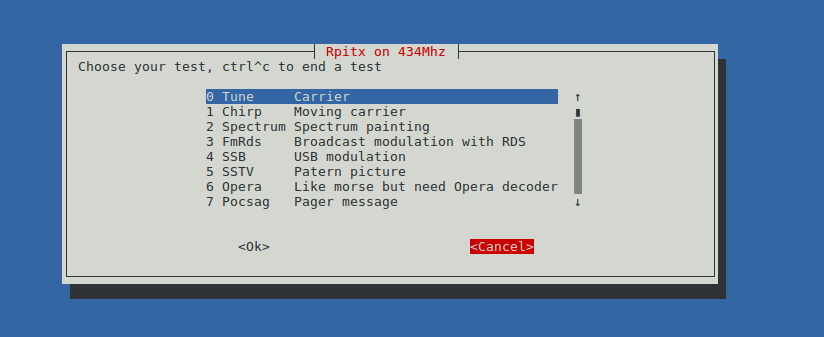
Easytest
easytest is the easiest way to start and see some demonstrations. All transmission are made on the free ISM band (434MHZ). To launch it, go to rpitx folder and launch easytest.sh :
cd rpitx
./easytest.sh
Choose different modes with arrows and press enter to start it.Don't forget, some tests are made in a loop, you have to press CTRL^C to exit and back to menu.
Easy way to monitor what you are doing is by using an SDR software and an SDR receiver like an rtl-sdr one and set the frequency to 434MHZ.
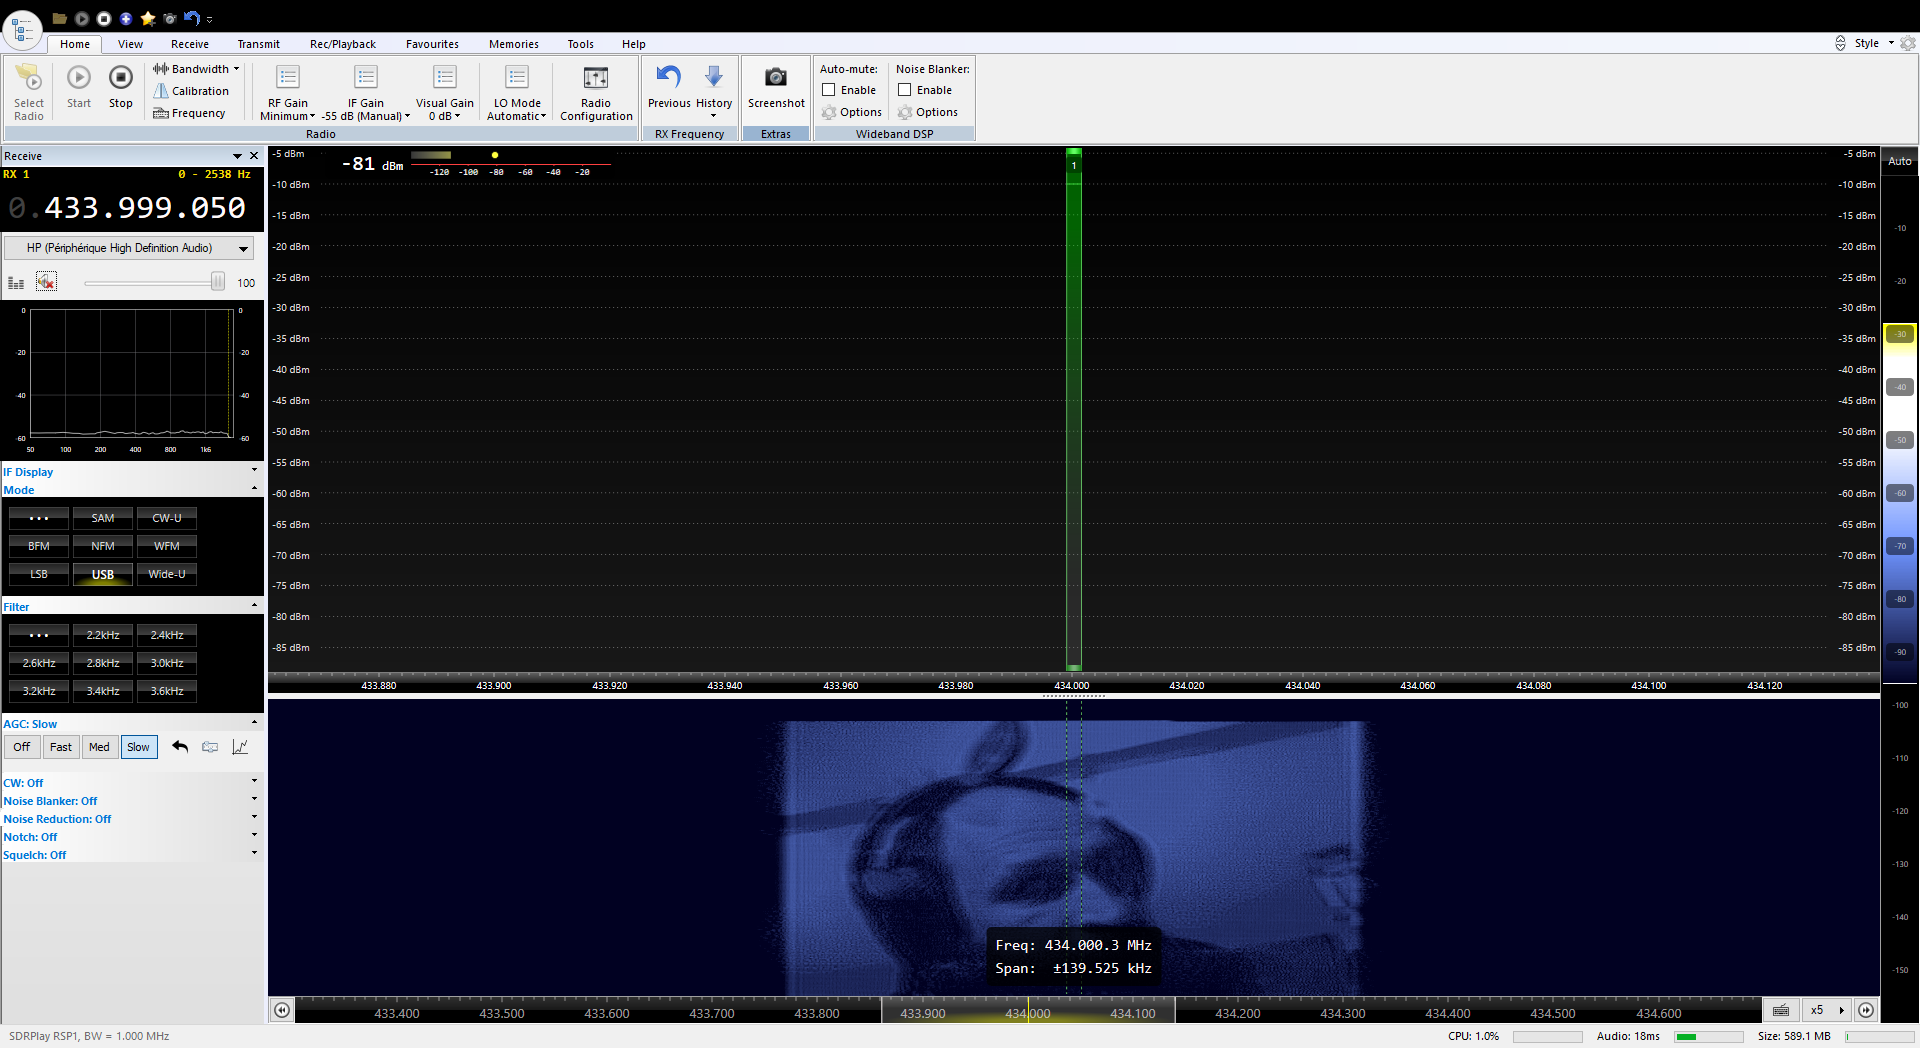
Carrier
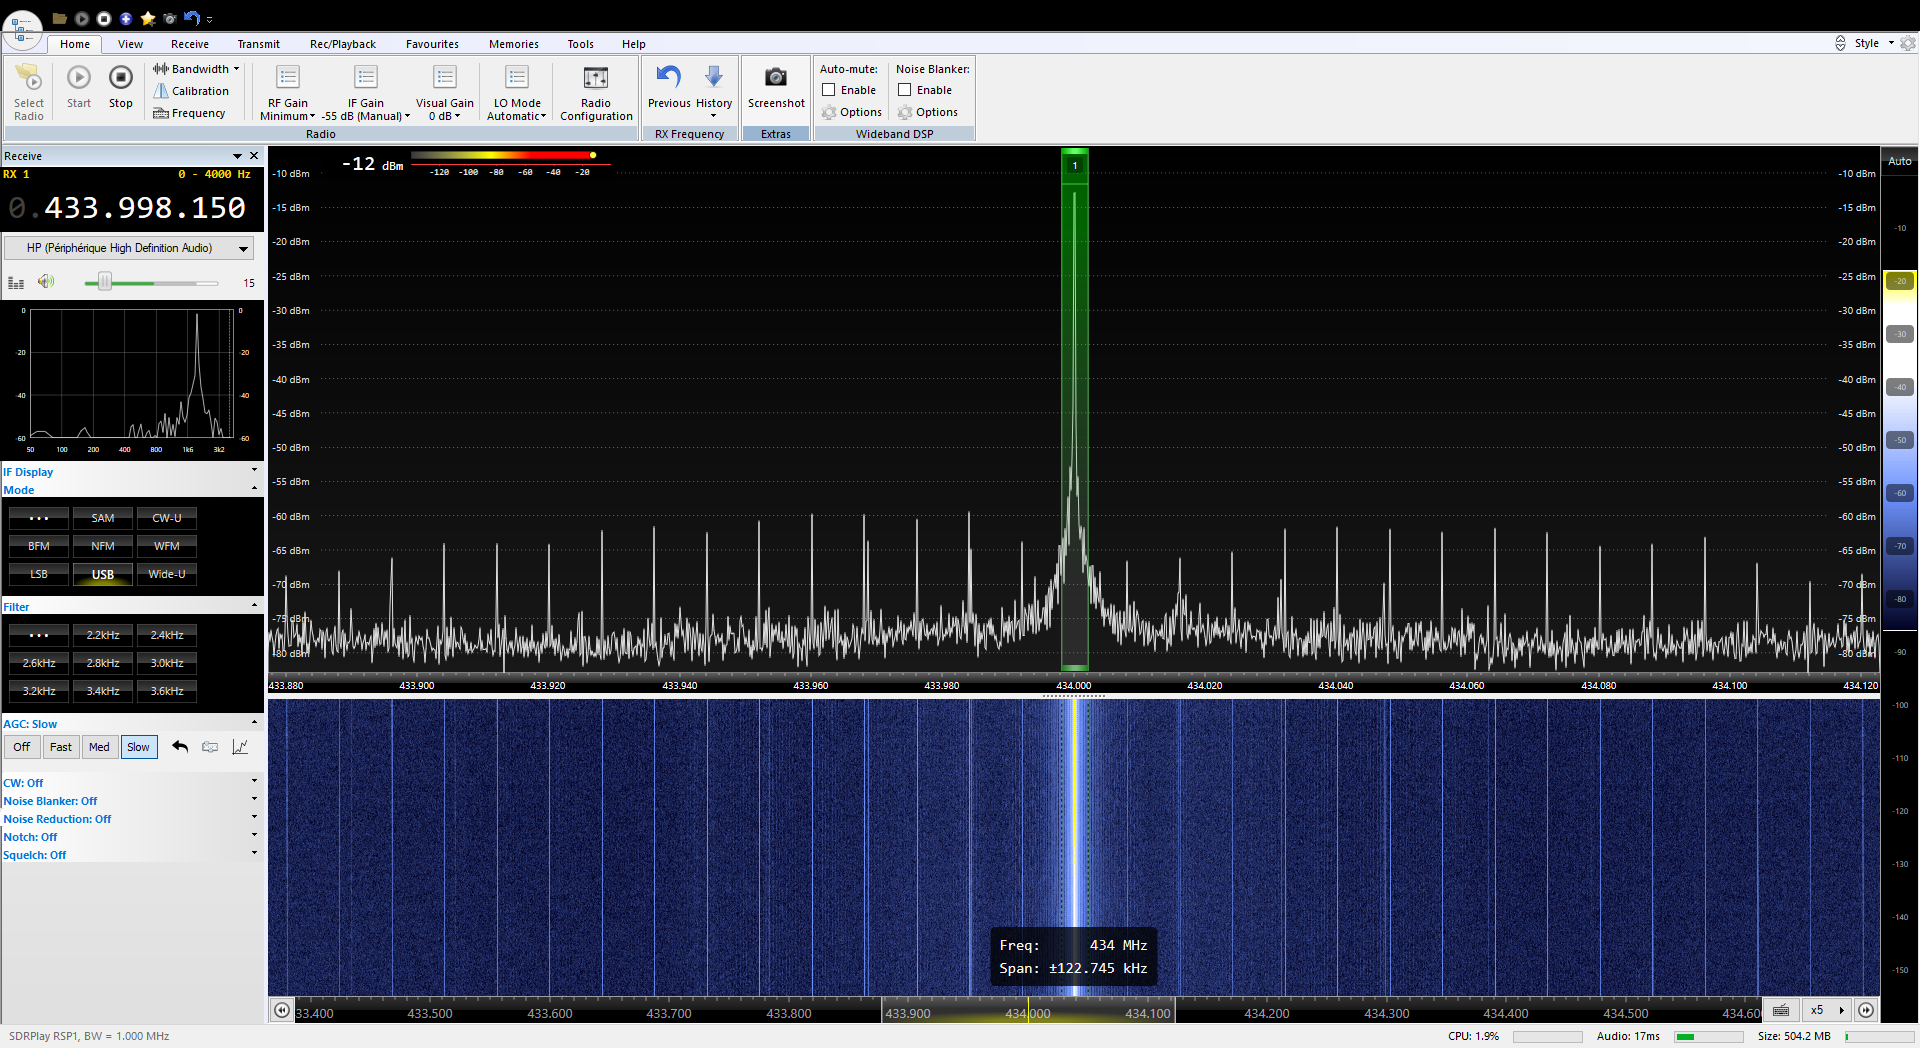 A simple carrier generated at 434MHZ.
Chirp
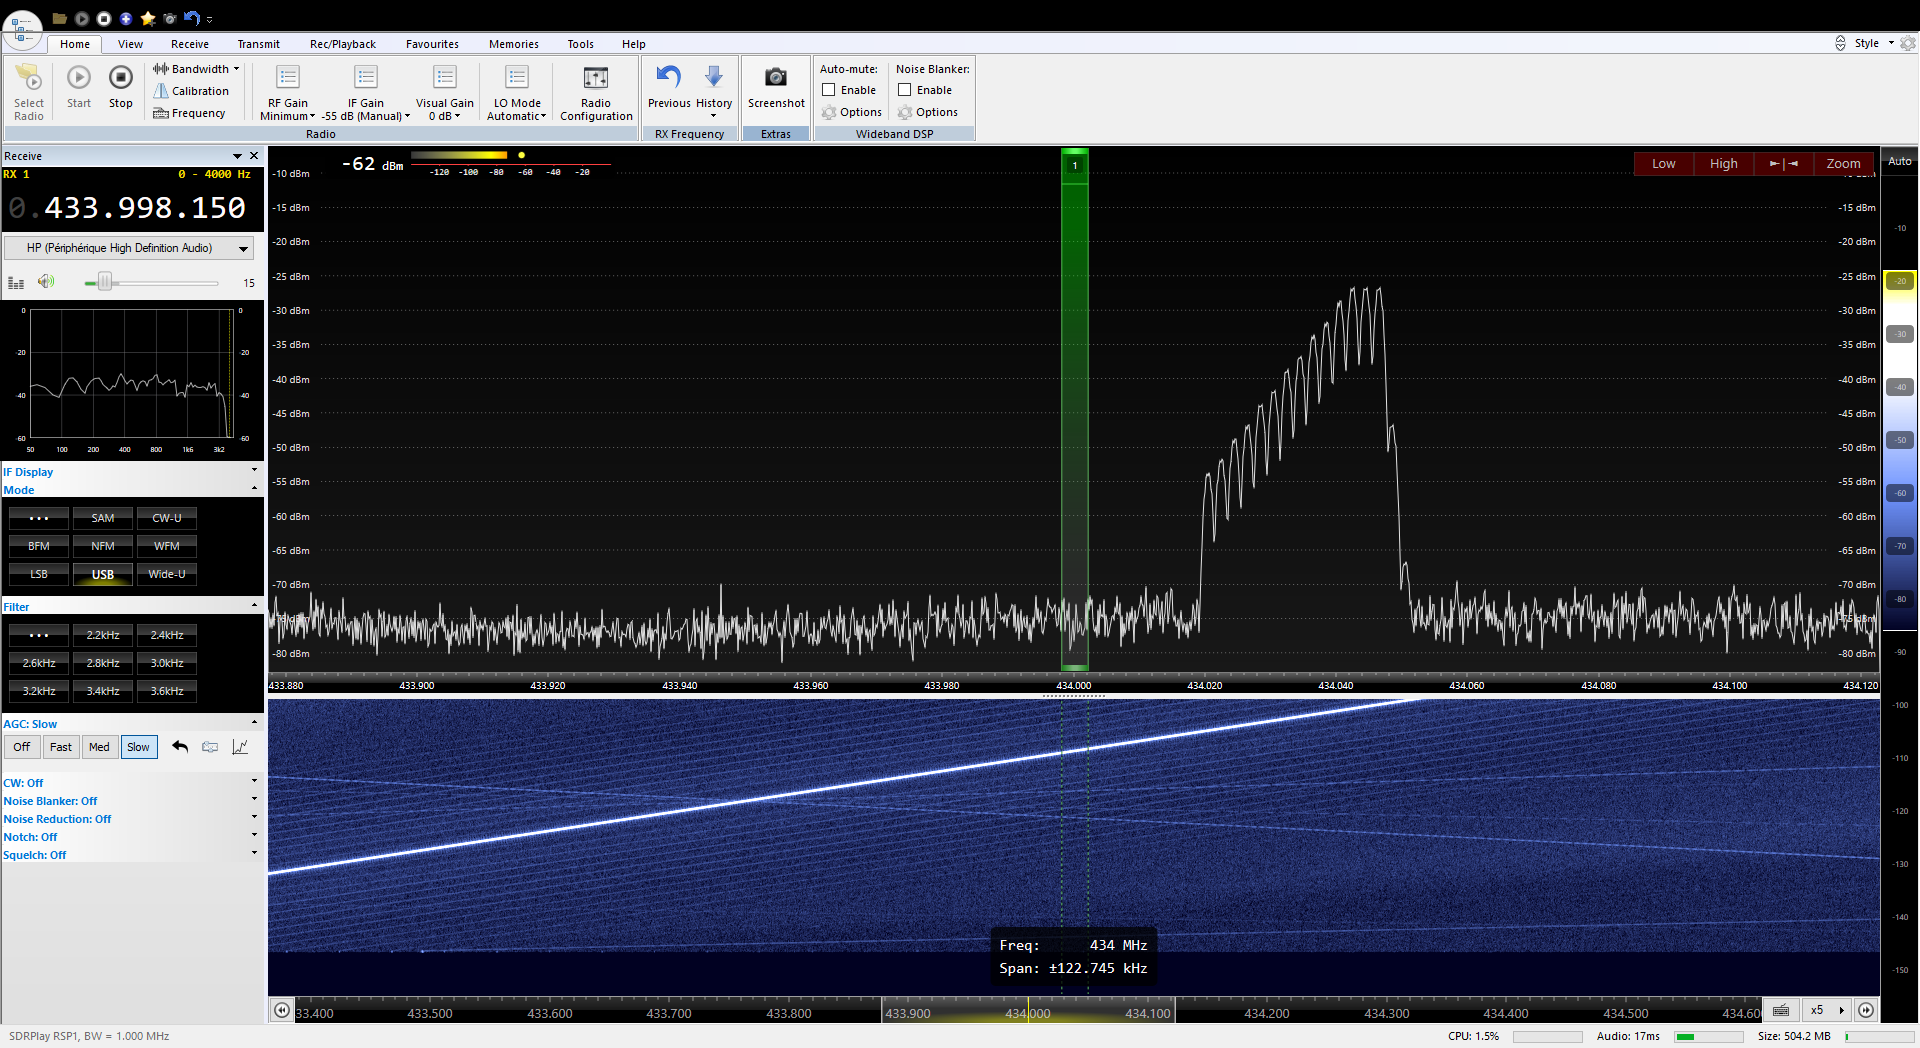 A carrier which moves around 434MHZ.
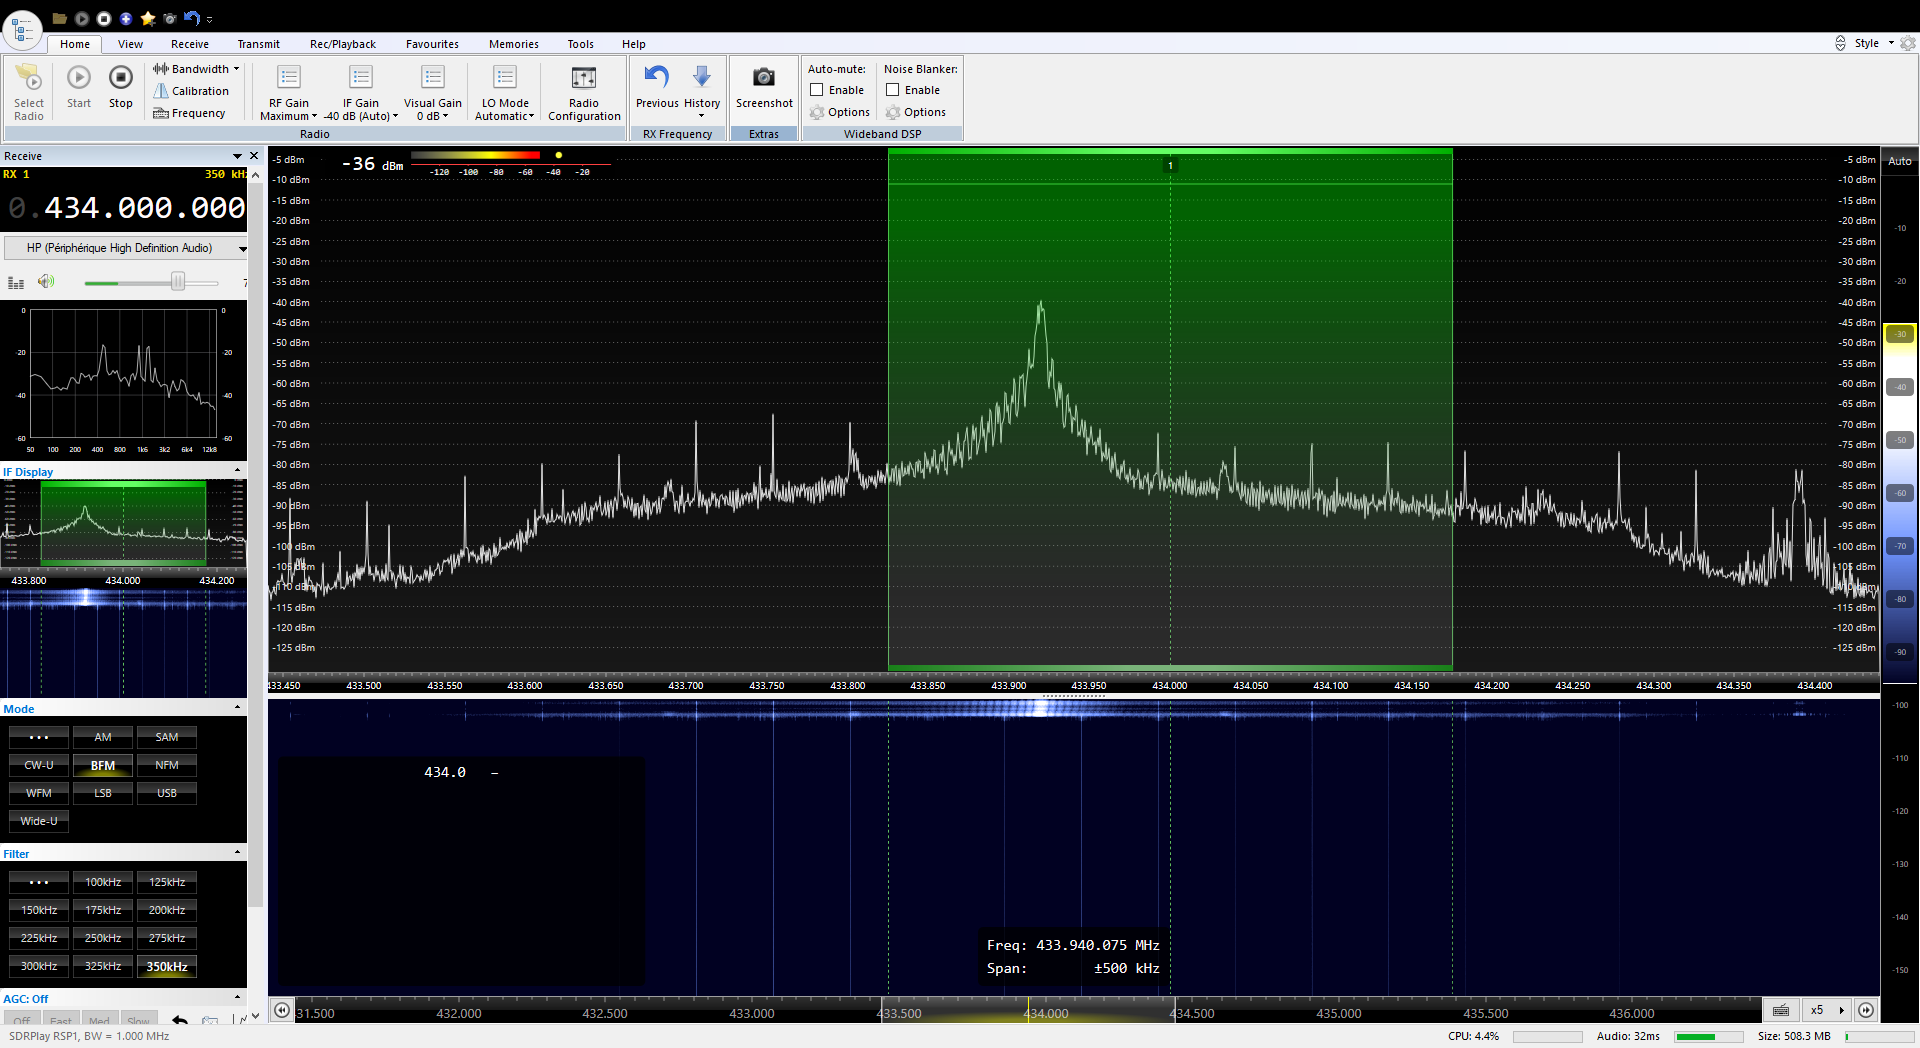
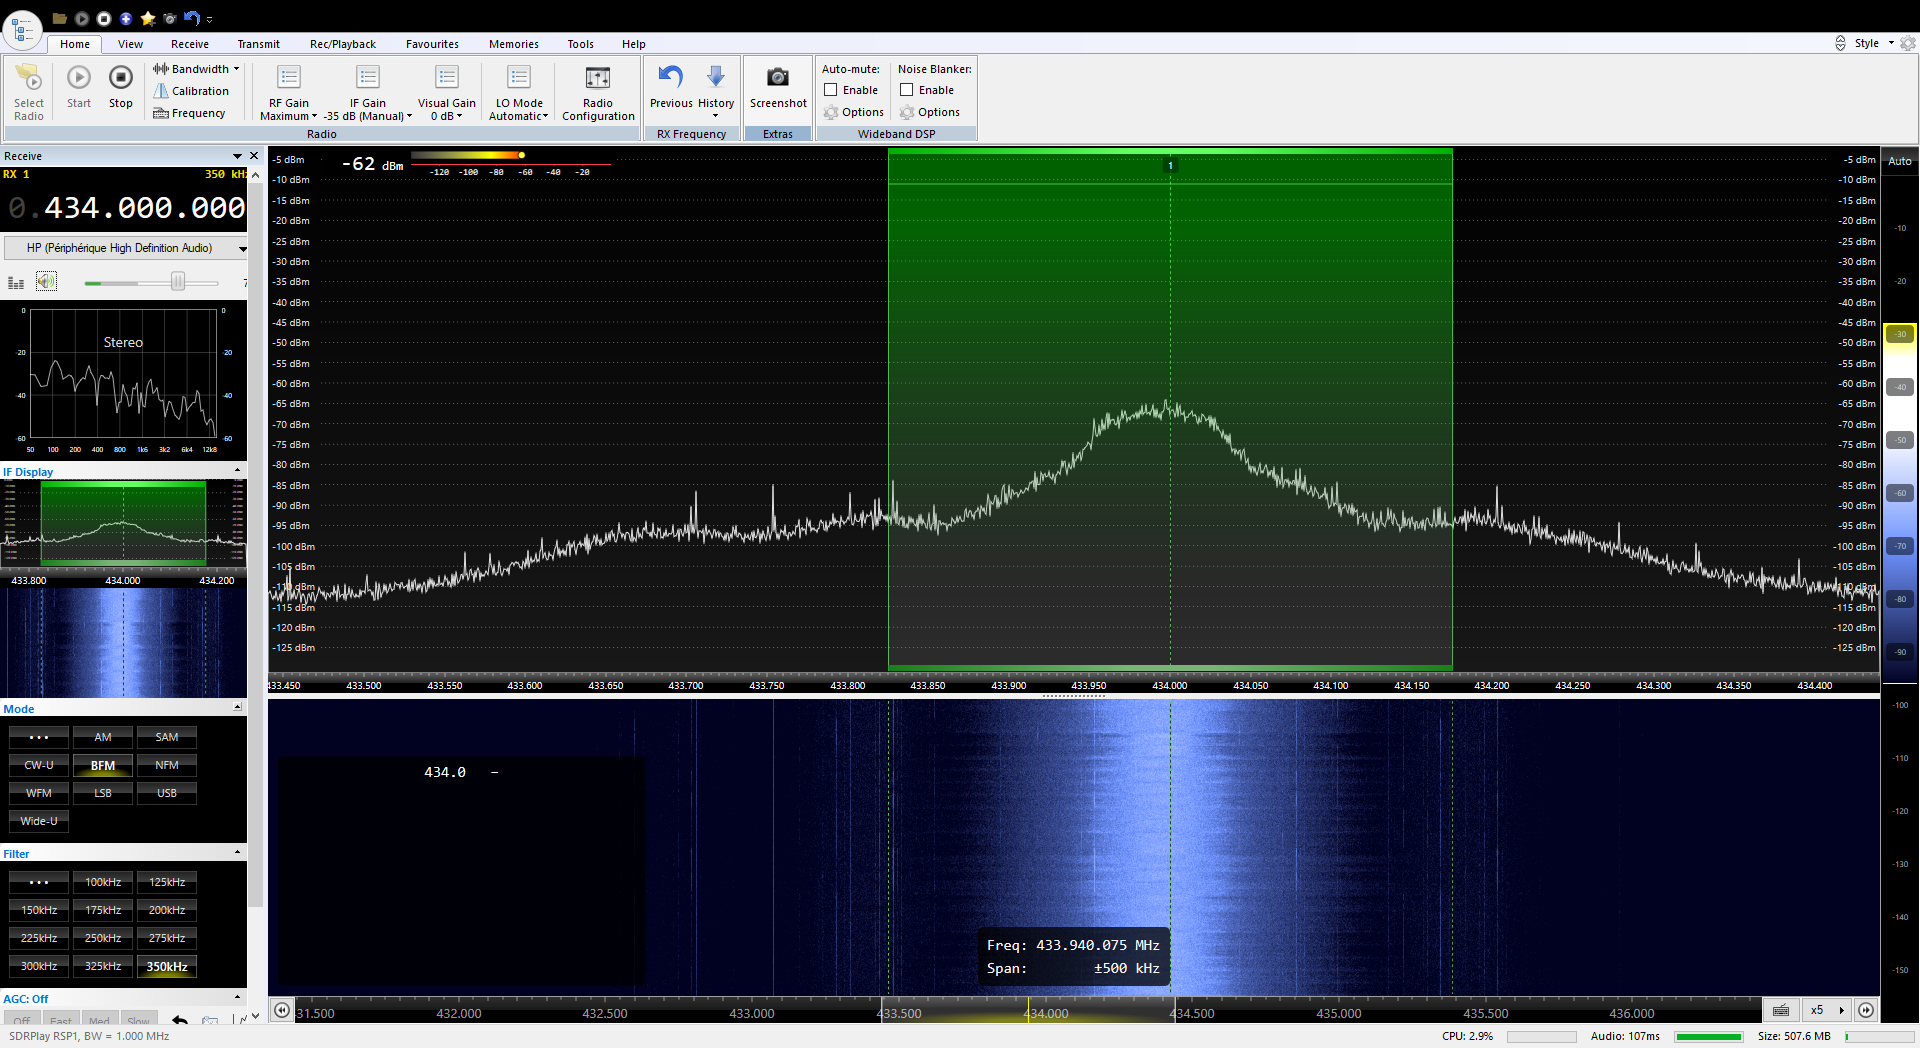
Spectrum
 A picture is displayed on the waterfall of your SDR. Note that you should make some tweaks in order to obtain contrast and correct size depending on your reception and SDR software you use.
RfMyFace
 Spectrum painting of your face using the raspicam for fun!
FM with RDS
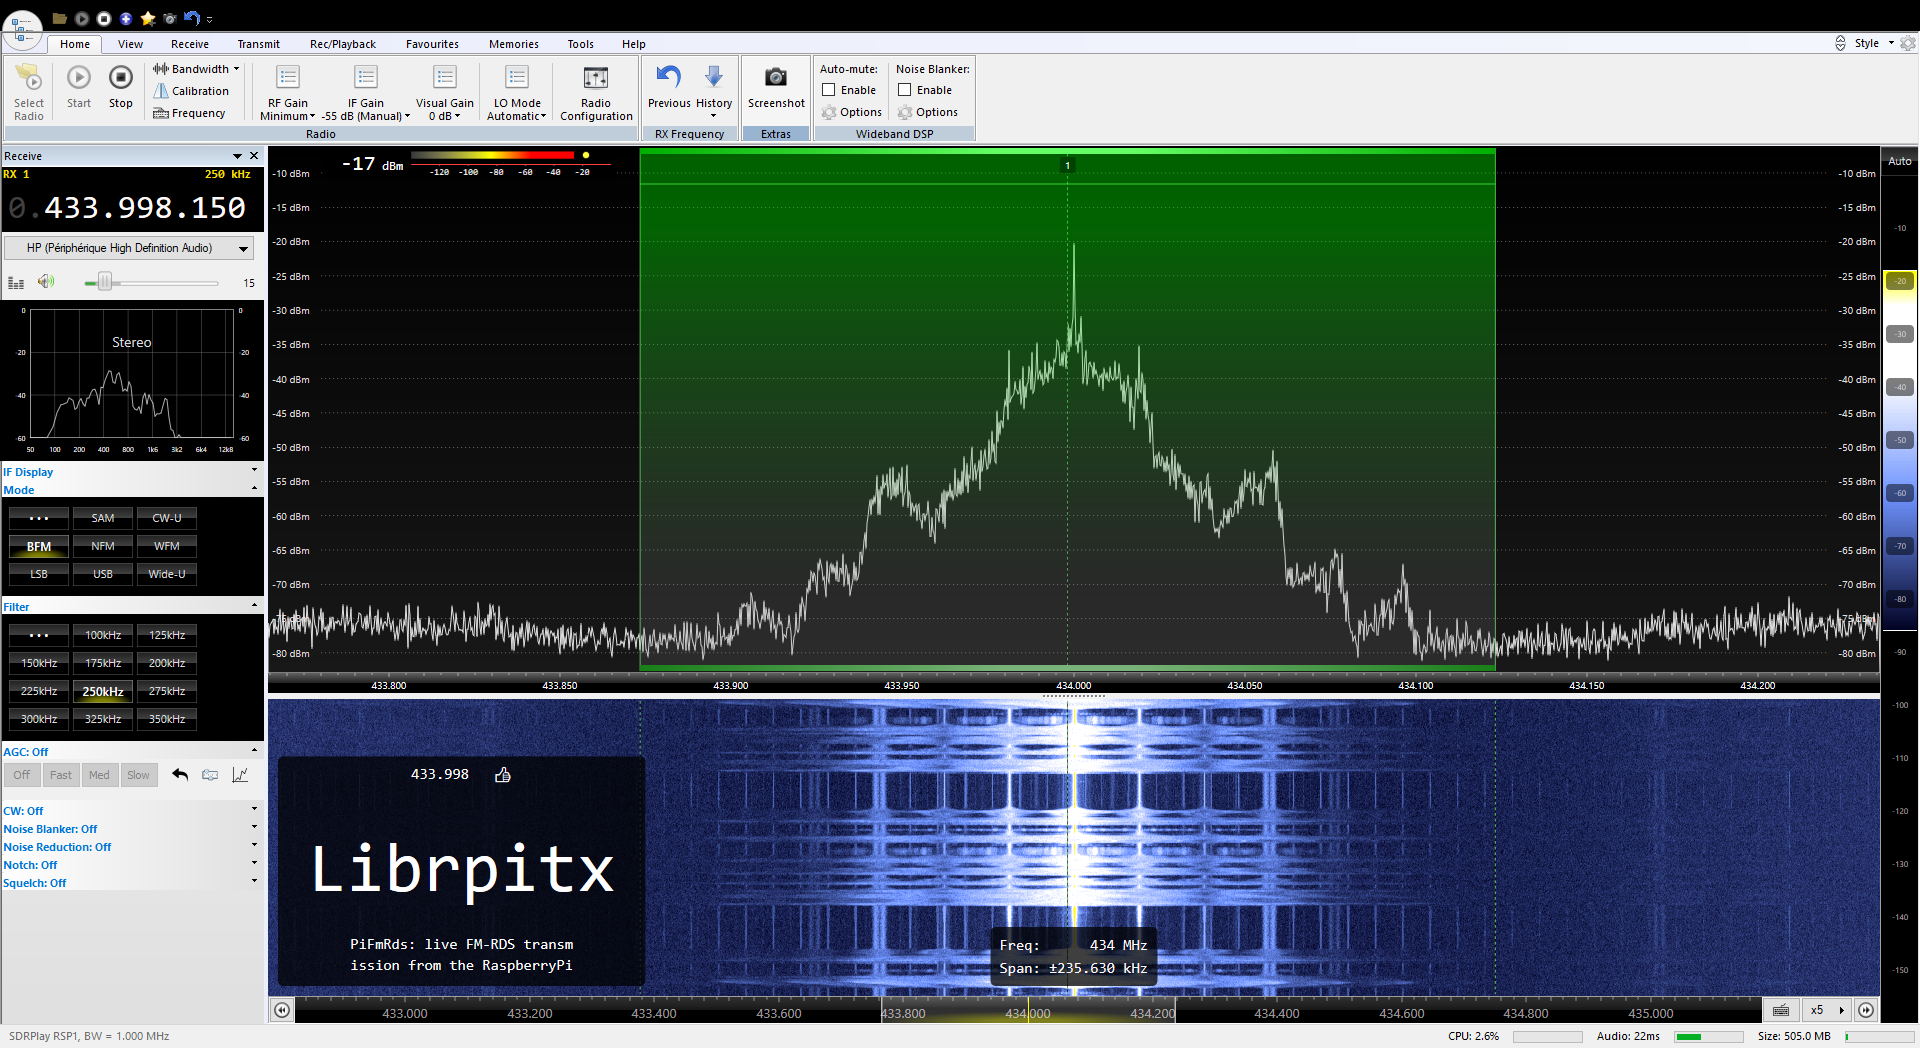 Broadcast FM with RDS. You should receive it with your SDR. This is the same modulation of commercially broadcast FM stations, but in this case, the frequency is higher since the FM broadcast badn is between 87-108 MHz.
Single Side Band modulation (SSB)
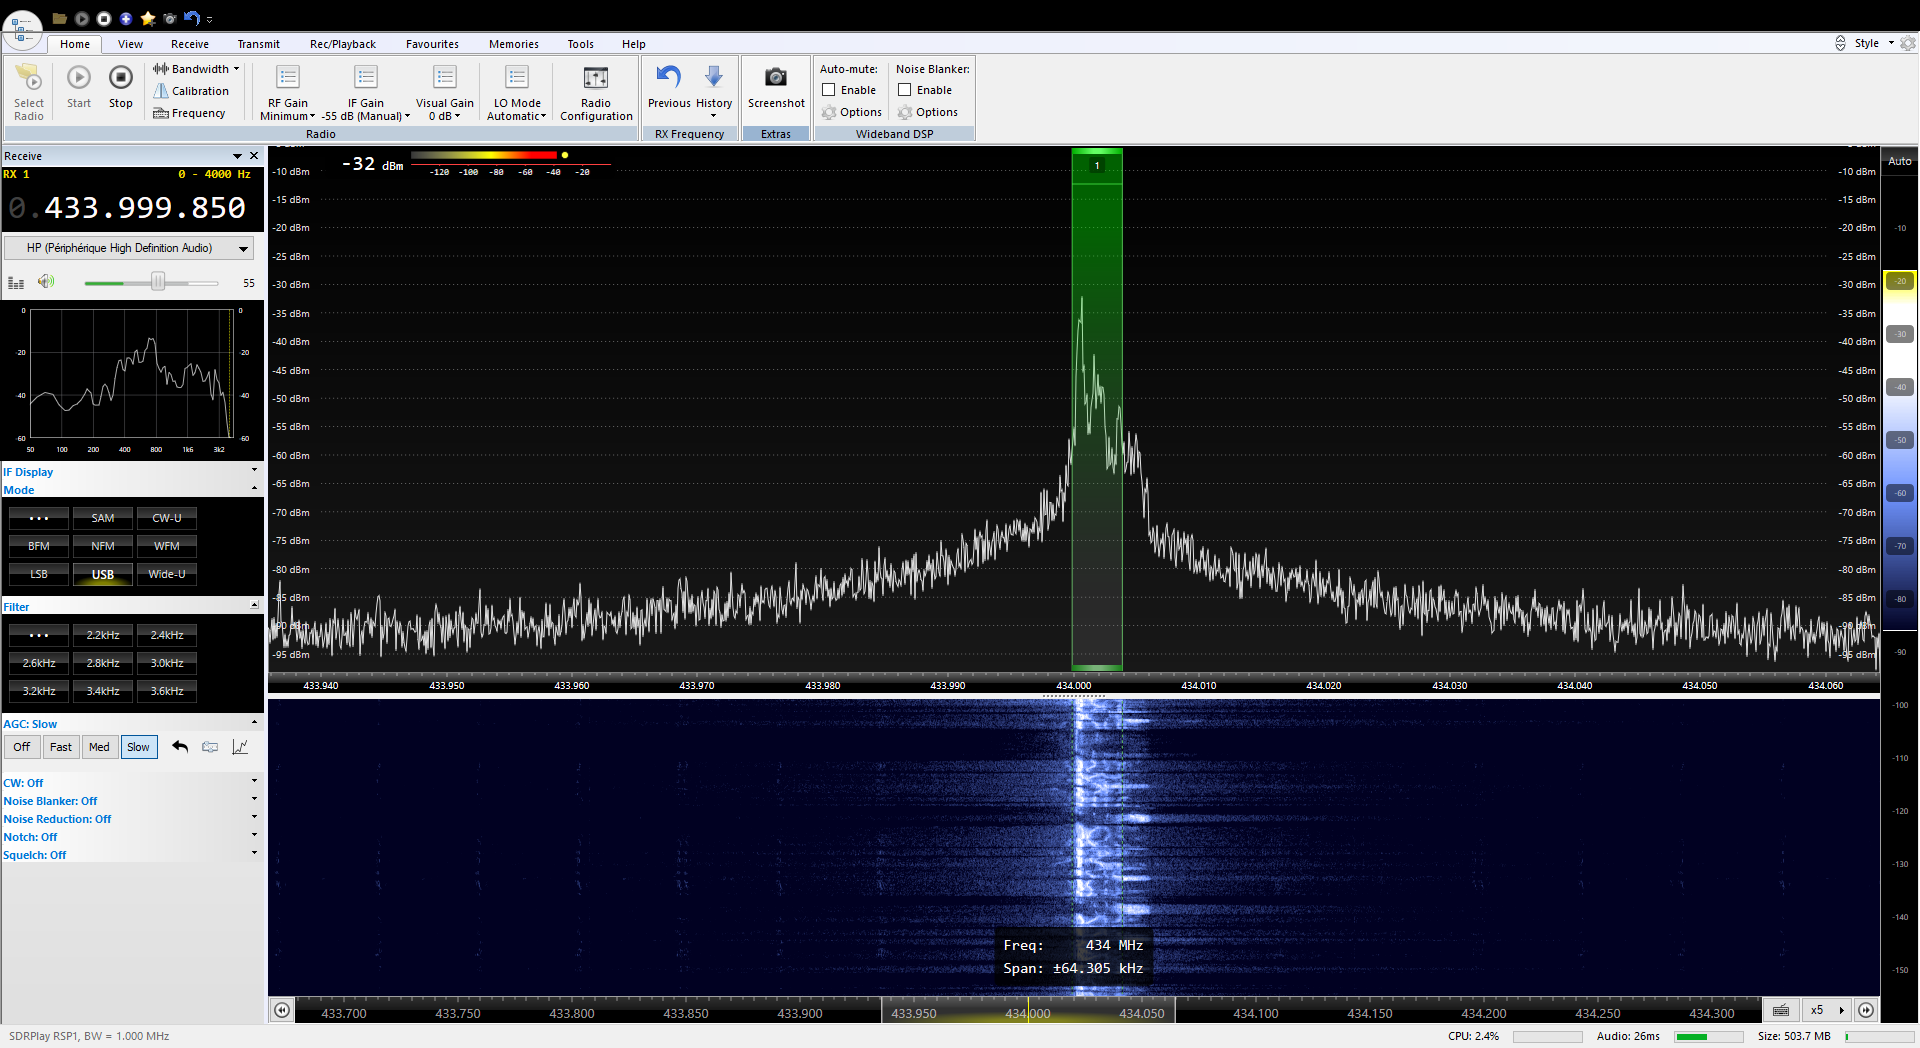 This is the classical analog voice modulation used in ham radio. Use your SDR in USB mode.
Slow Scan Television (SSTV)
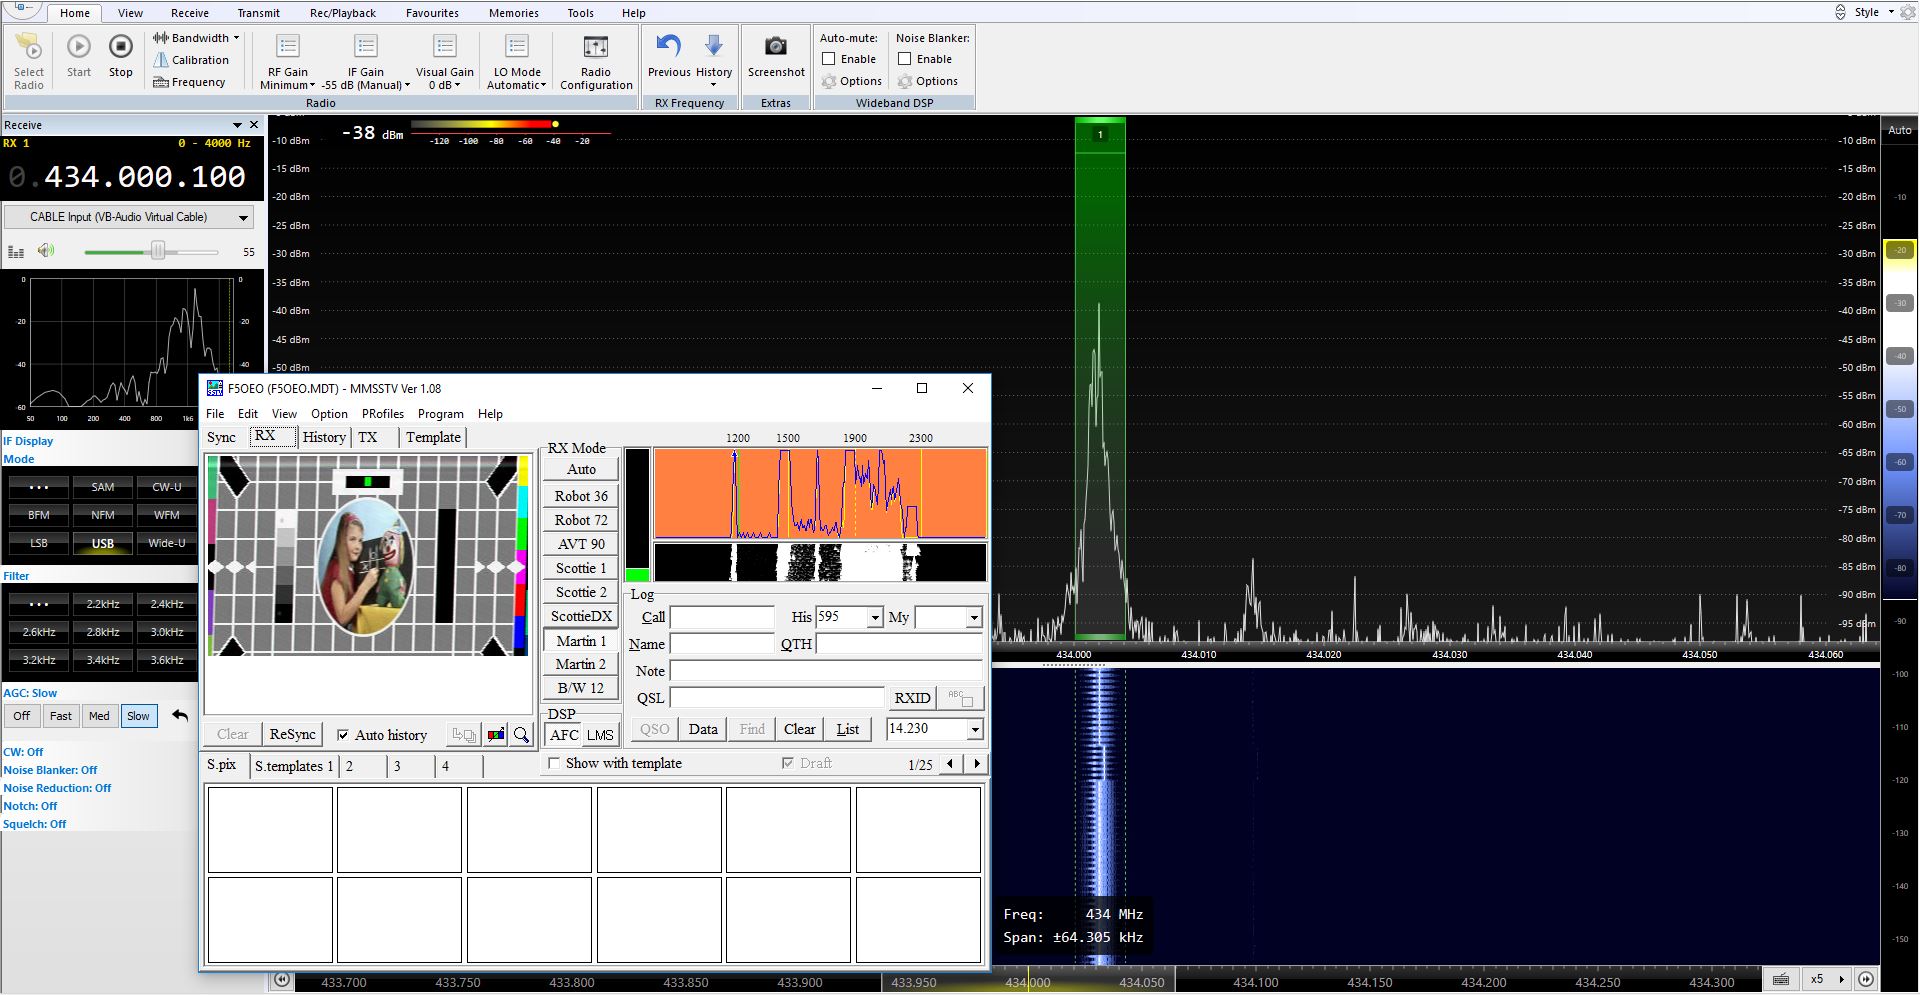 This is a picture transmission mode using USB modulated audio. You need an extra software to decode and display it (QSSTV, MMSSTV, ...). This demo uses the Martin1 SSTV mode.
POCSAG (pager mode)
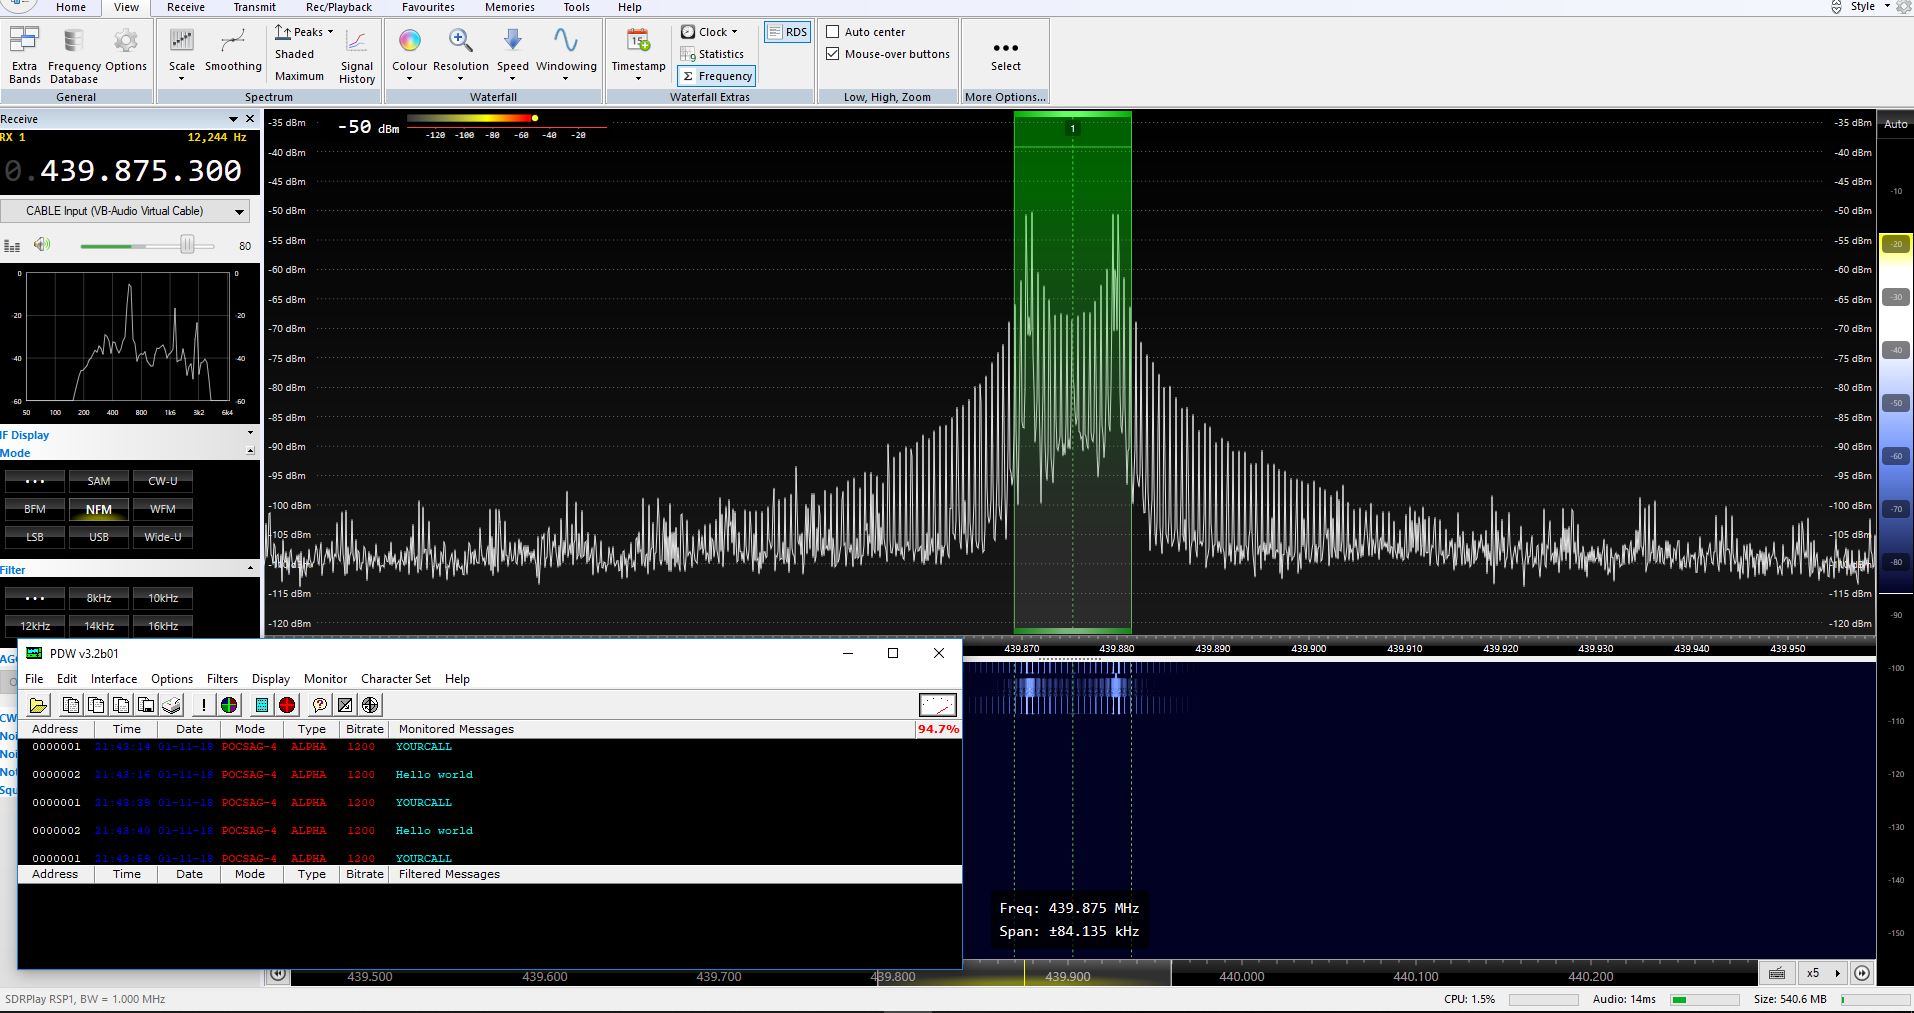 This is a mode used by pagers. You need an extra software to decode. Set your SDR in NBFM mode. Default is 1200 bps.
FreeDV (digital voice)
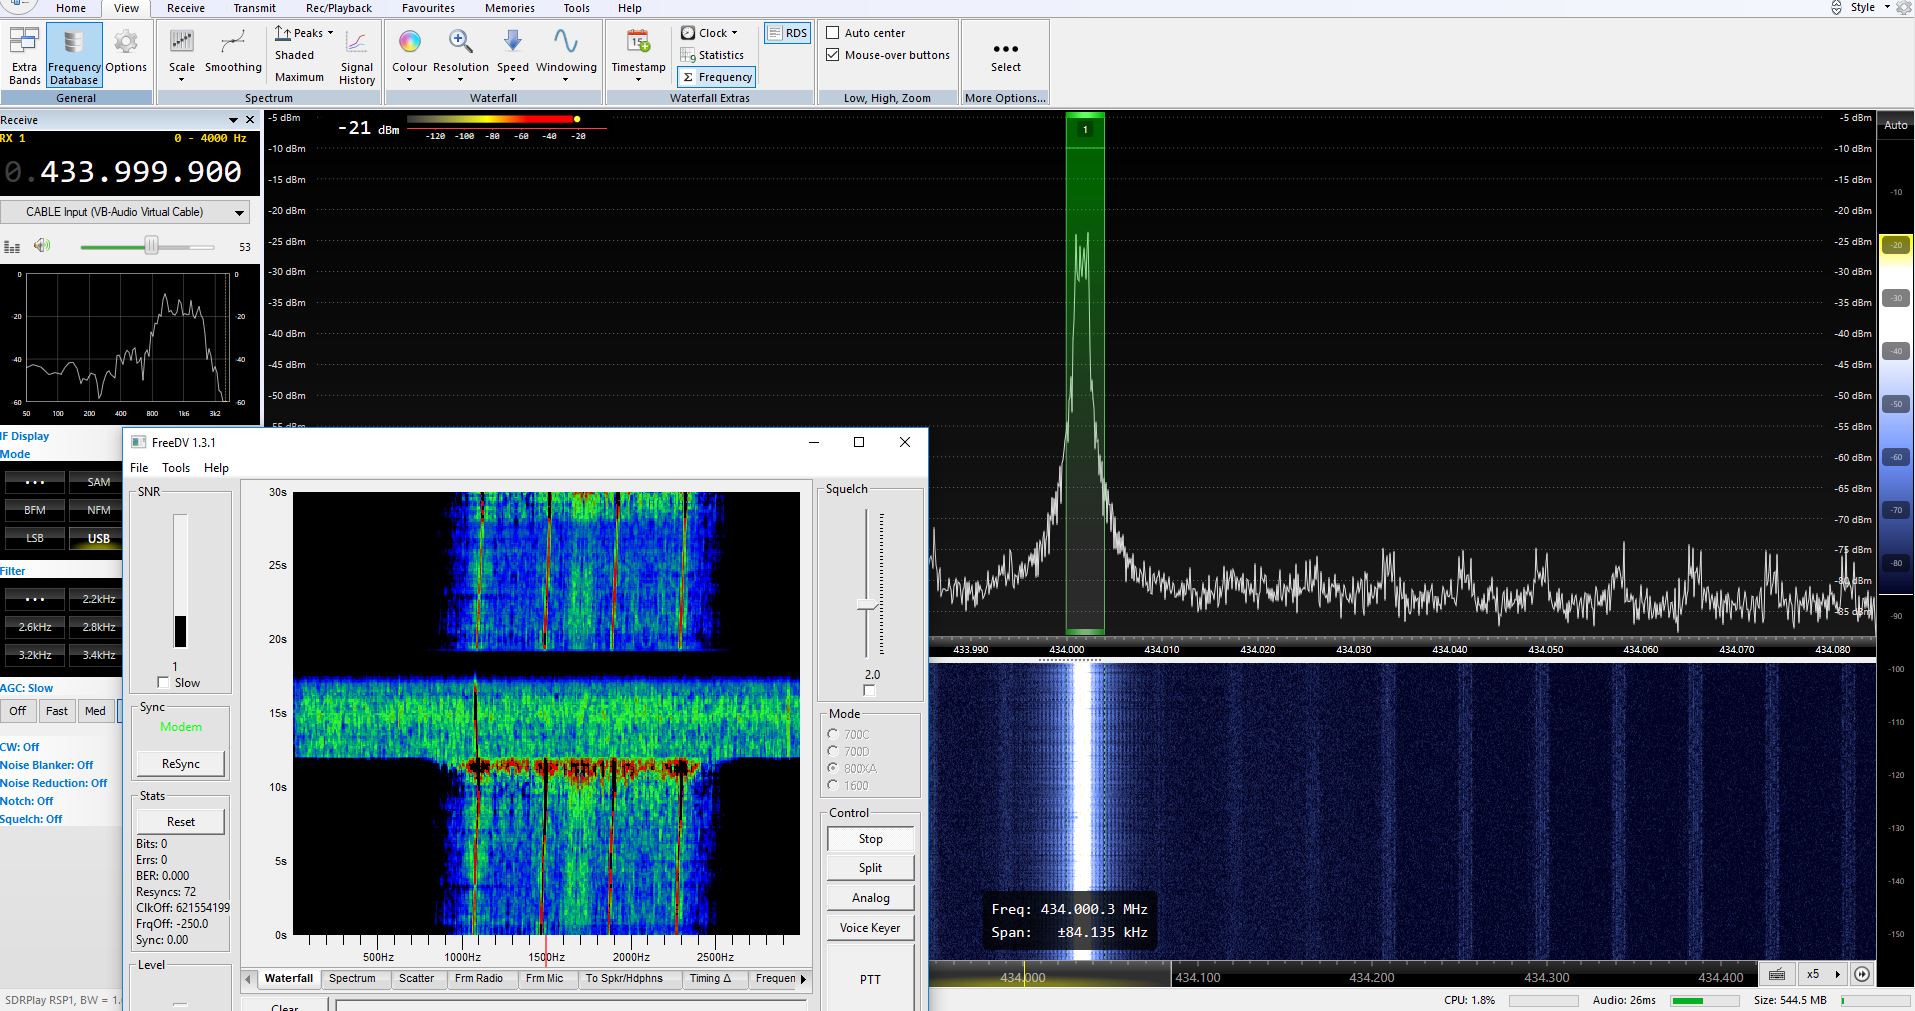 This is state of the art opensource digital modulation. You need FreeDV for demodulation.
Opera (Beacon)
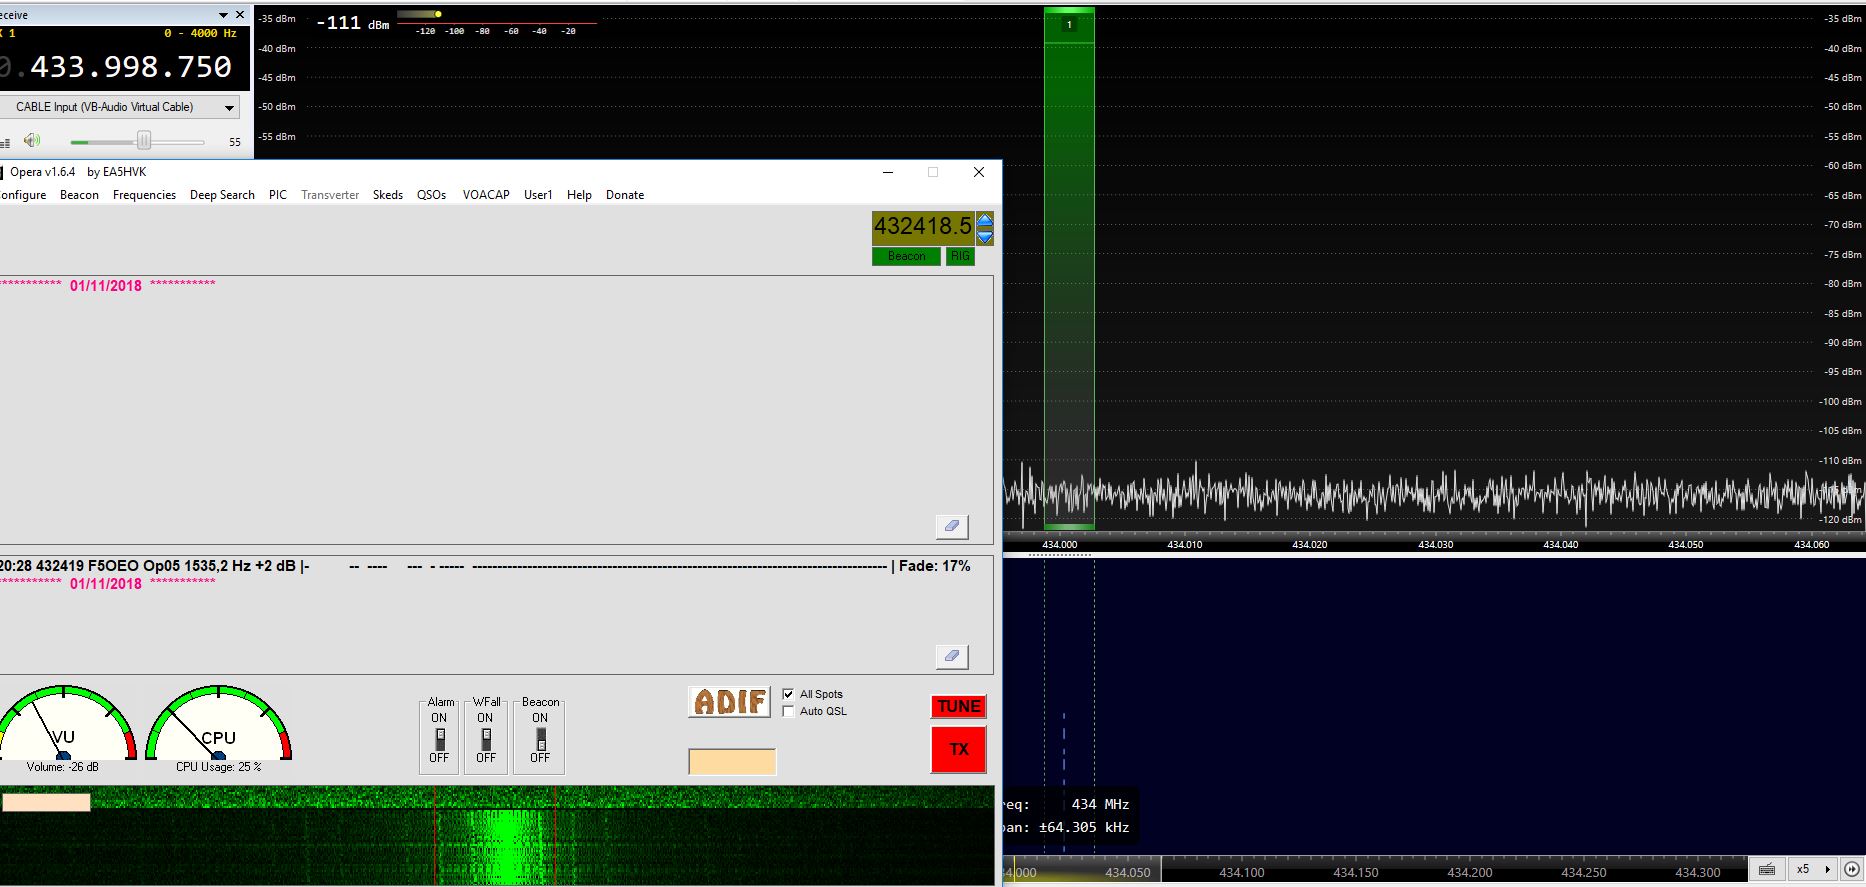 This a beacon mode which sound like Morse code (CW). You need Opera decoder set to 0.5 in order to decode it.
Rpitx and low cost RTL-SDR dongle
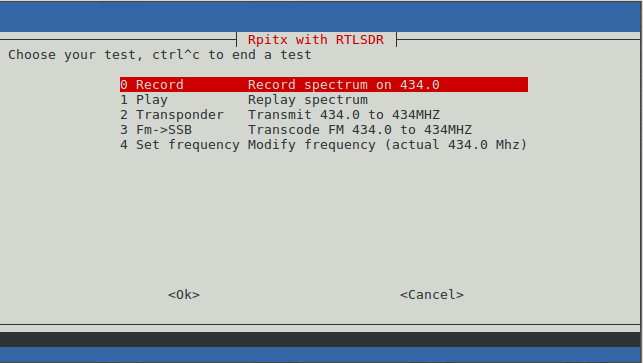
rtlmenu allows to use rtl-sdr receiver dongle and rpitx together. This involves reception and retransmission for experimenting. To launch it, go to the rpitx folder and launch rtlmenu.sh :
./rtlmenu.sh
You have to first to set receiver frequency and gain of RTL-SDR. Attention about gain, you should ensure that you have just enough gain to receive the signal clearly but not too high which could saturate the receiver and won't work properly*.
Choose with arrows and enter to start it.Don't forget, some test are made in a loop, you have to press CTRL^C to exit and go back to the menu.
Record and play
A typical application is to replay a signal. Picture above shows a replayed signal from an RF remote switch. So first, record few seconds of the signal, press CTRL^C to stop the recording. Then replay it by pressing play.
Transponder
 We can also retransmitt live the received frequency. Here the input frequency is an FM broadcast station which is retransmitted on 434 MHz.
Relaying with transmodulation
We assume that the input frequency is tuned to an FM station. It is first demodulated and then modulated to SSB on 434MHZ. SSB is not HiFi, so prefere to choose a spoken radio, music sounds a bit weird!
To continue
rpitx is a generic RF transmitter. There are a lots of modulation types to experiment with and much documentation to make easy to contribute. This will be the next step! Feel free to inspect scripts, change parameters (frequencies, audio input, pictures, ...).
Credits
All rights of the original authors reserved. I try to include all licences and authors in sourcecode. Need to write all references in this section.