|
|
||
|---|---|---|
| bin | ||
| doc | ||
| scripts | ||
| src | ||
| video | ||
| README.md | ||
| install.md | ||
| install.sh | ||
| update.sh | ||
README.md
rpidatv
rpidatv is a digital television transmitter for Raspberry Pi (B,B+,PI2,PI3,Pizero) which outputs directly to GPIO. This version has been developed for use with an external synthesized oscillaotor and modulator/filter board. (Created by Evariste Courjaud F5OEO. Code is GPL)
Installation for BATC Version
The preferred installation method only needs a Windows PC connected to the same (inetrnet-connected) network as your Raspberry Pi.
-
First download the March 2016 release of Raspbian Jessie Lite on to your Windows PC from here http://downloads.raspberrypi.org/raspbian_lite/images//raspbian_lite-2016-03-18/. Evariste has not tested with later Raspbian images. There are some problems with the latest version of Raspbian, which Evariste and I are working to resolve.
-
Unzip the image and then transfer it to a Micro-SD Card using Win32diskimager https://sourceforge.net/projects/win32diskimager/
-
Power up the Pi with the new card inserted, and a network connection. No keyboard or display required.
-
Find the IP address of your Raspberry Pi using an IP Scanner (such as Advanced IP Scanner http://filehippo.com/download_advanced_ip_scanner/ for Windows, or Fing on an iPhone) to get the Pi's IP address
-
From your windows PC use Putty (http://www.chiark.greenend.org.uk/~sgtatham/putty/download.html) to log in to the IP address that you noted earlier.
-
Log in (user: pi/password: raspberry), and type "sudo raspi-config" to open the configuration tool. Select option 1 to expand the file system to the whole disk.
-
Exit raspi-config (press tab twice then press return), and reboot.
-
Power-off, connect the camera, reconnect power and reboot. Log in again.
-
Cut and paste the following code in, one line at a time:
wget https://raw.githubusercontent.com/davecrump/rpidatv/master/install.sh
chmod +x install.sh
./install.sh
- For French menus and keyboard, replace the last line above with
./install.sh fr
- When it has finished, accept the reboot offered or type "sudo reboot now", log in again and then start the software by typing:
/home/pi/rpidatv/scripts/menu.sh menu
You can now explore the menu options and play.
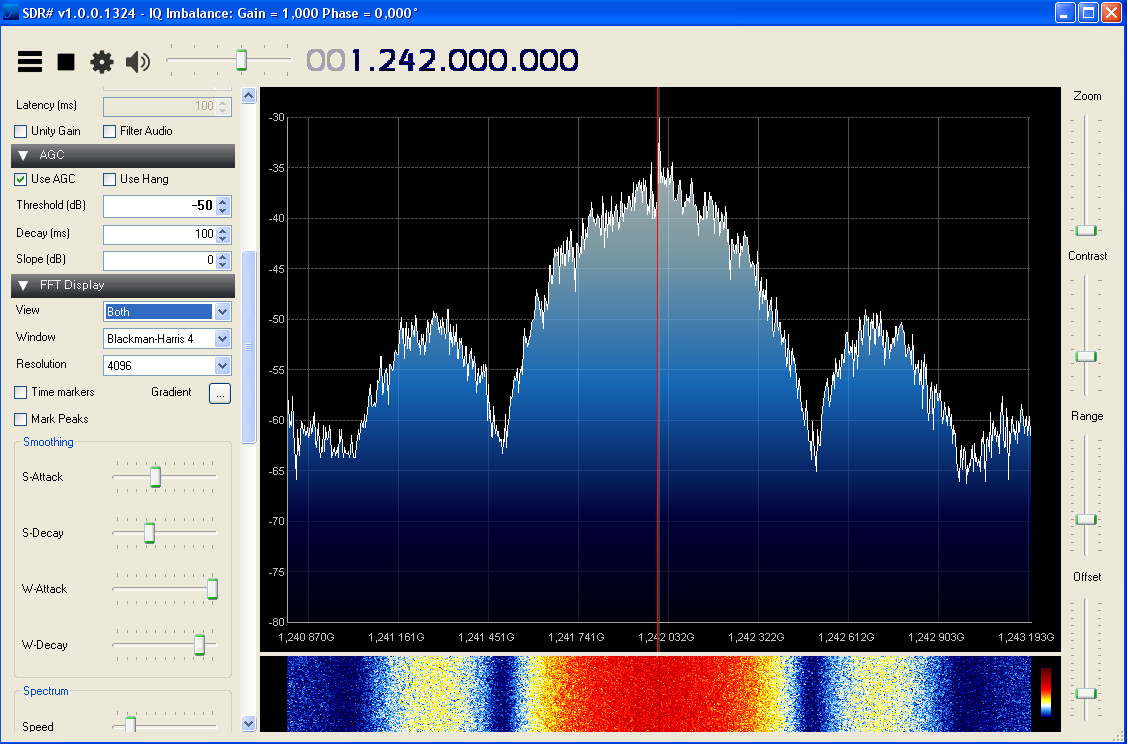
Evariste has only tested on an RPi2, I have been using an RPi3. I succeeded in generating a direct RF output (from GPIO pin 32) on 437 MHz at 333KS using the on-board camera as the source; it would not work reliably at higher SRs. The big win for me is that I could feed the I and Q signals from pins 32 and 33 directly into the LC filter on my old DigiLite modulator and generate a 2MS QPSK H264 DVB-S signal from the on-board camera. Some adjustment of the bias is required as the I and Q signals from the Pi are 3.3v, not 5v as provided by the DigiLite encoder.
