|
|
||
|---|---|---|
| main | ||
| ui_Lists | ||
| .gitignore | ||
| README.md | ||
| __init__.py | ||
README.md

Blend_My_NFTs
Description
Blend_My_NFTs is an open source, free to use Blender add on that enables you to automatically generate thousands of 3D Models, Animations, and Images. This add on's primary purpose is to aid in the creation of large generative 3D NFT collections.
For support, help, and questions, please join our Discord where our wonderful community: https://discord.gg/UpZt5Un57t
This add on was origninal developed to create the NFT project This Cozy Place which is now availabe to mint on our website: https://thiscozystudio.com/
The video above illustrates the first 10 Cozy Place NFTs generated with Blend_My_NFts.
Official Links:
Website: https://thiscozystudio.com/
Discord: https://discord.gg/UpZt5Un57t
Youtube: https://www.youtube.com/c/ThisCozyStudio
Twitter: https://twitter.com/CozyPlaceNFT
Instagram: https://www.instagram.com/this_cozy_studio/
Reddit: https://www.reddit.com/r/ThisCozyPlace/
Case Studies
This document has a list of projects that use Blend_My_NFTs to help facilitate them in the creation of their collection: https://docs.google.com/document/d/e/2PACX-1vSHZS4GRu8xXDYpVPEaxyBeTzms9yrJEC9IoAcP38_U8x0C1kVrbtNZgh0zUmkzBoZQVwNvBf3ldRij/pub
Quick Disclaimer
Blend_My_NFTs works with Blender 3.0.0 on Windows 10 or macOS Big Sur 11.6. Linux is supported, however I haven't had the chance to test this functionality and guarantee this. Any rendering engine works; Cycles, Eevee, and Octane have all been used by the community without issue. This add-on only works in Blender, a Cinima 4D port will be investigated in the future.
Blend_My_NFTs, this readme documenation, YouTube tutorials, live stream Q/As are all provided for free by This Cozy Studio for anyone to use and access. I only ask in return that you credit this software and kindly share what our team has built. A direct link to the Blend_My_NFTs Github page on your projects website (or equivelant social platform) would sefice. We ask you to share this tool because we feel there are many out there that would benefit from it, our only goal is to help those in need. It warms our hearts that so many people use this add-on.
Thank you,
- This Cozy Studio team
Setup/Installation
Here are the steps you need to take to get the Blend_My_NFTs add-on installed in Blender:
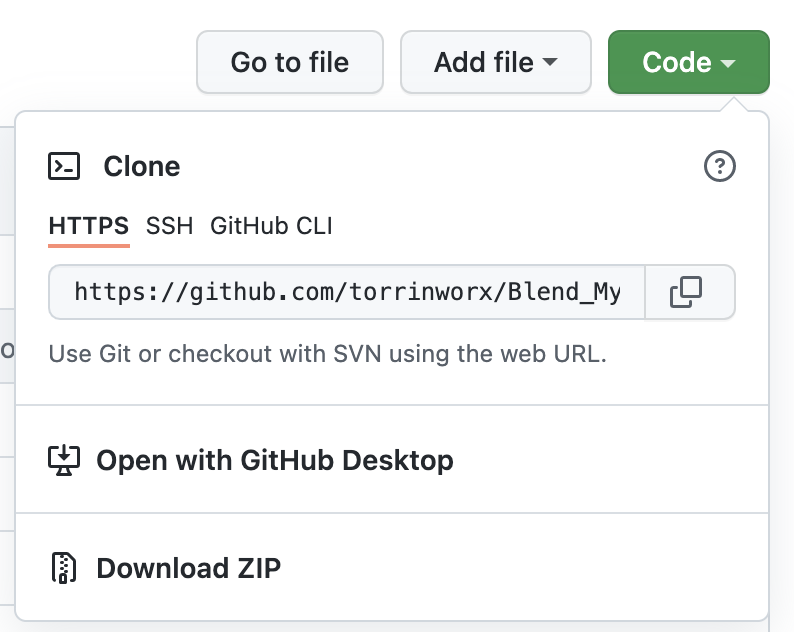
- Click the green
Codebutton at the top of this page.

- From the drop down click
Download ZIP. This will download Blend_My_NFTs-main.zip to your Downloads folder:
- Move the Blend_My_NFTs-main.zip file to your desktop:

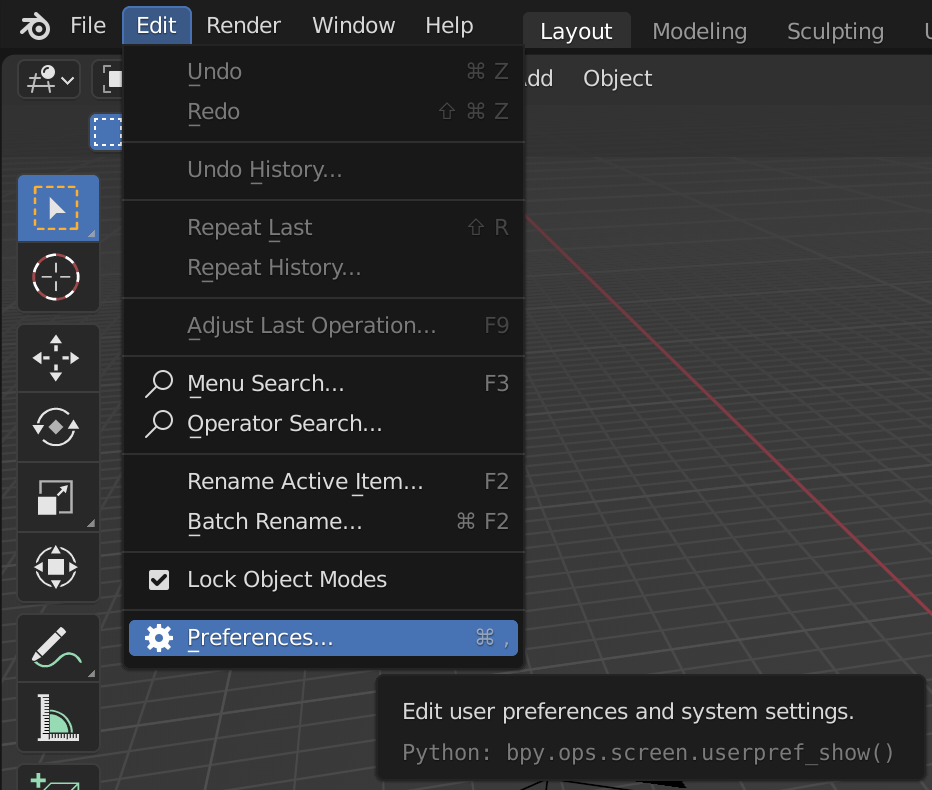
- Open Blender and navigate to
Edit->Preferences->Add-ons:
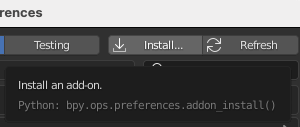
- Click the
Installbutton:
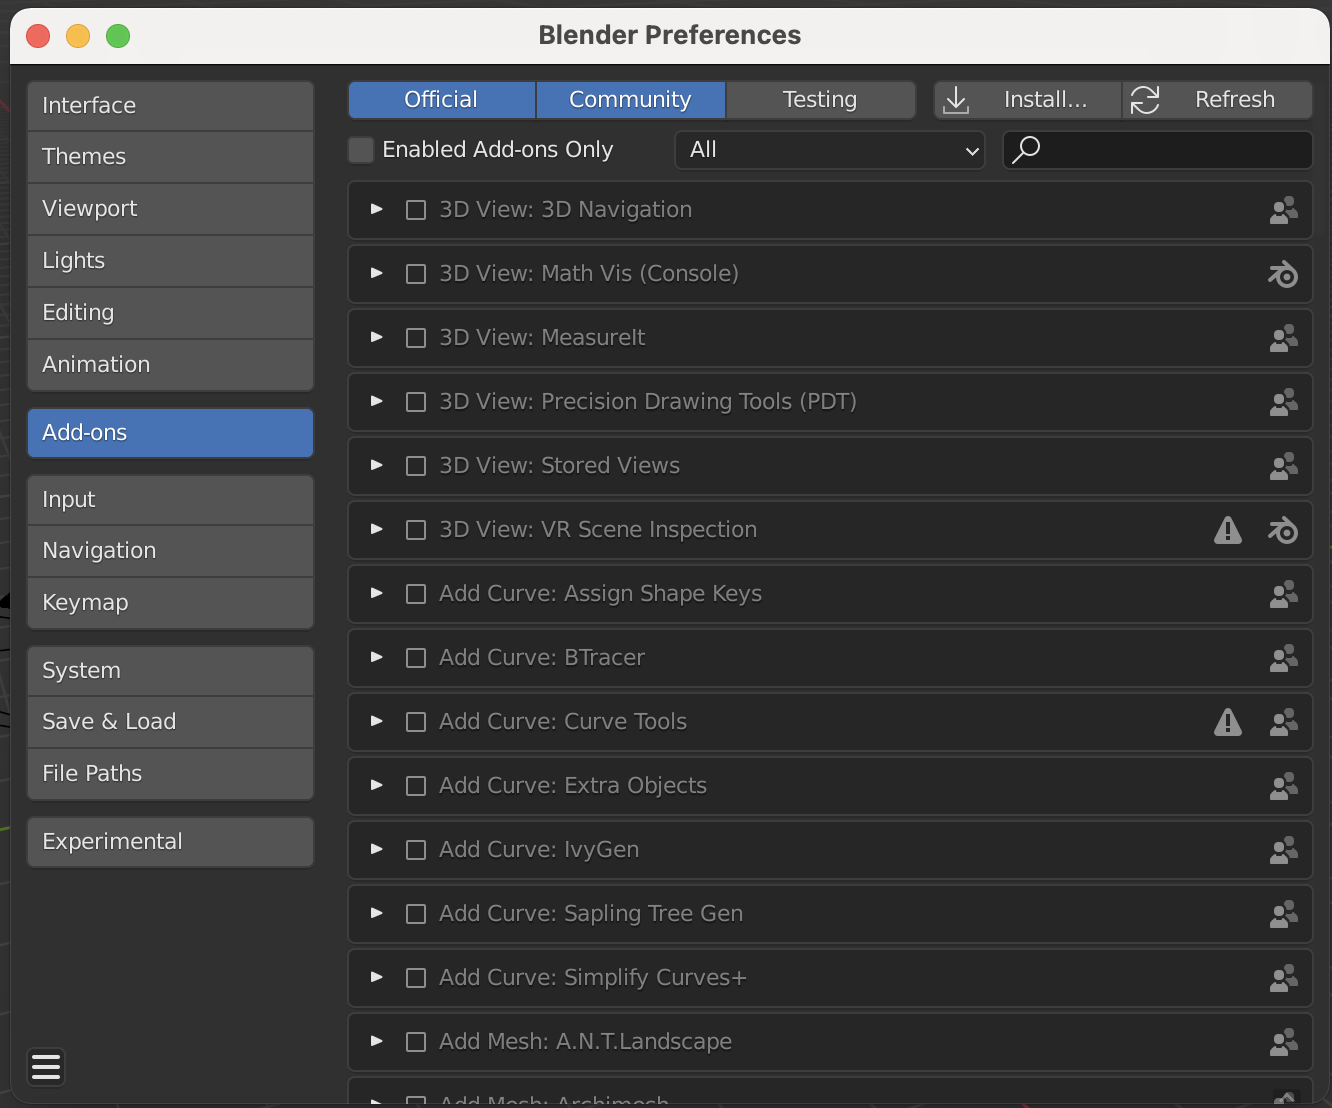
- In the
Blender File Viewwindow, navigate to the Blend_My_NFTs-main.zip file downloaded in step 1., select it, then clickInstall Add-on:

- Navigate back to the
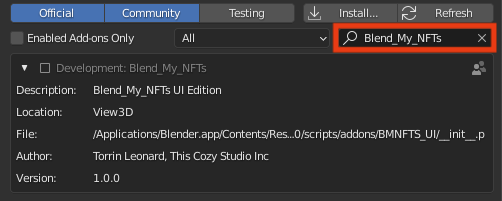
Add-onswindow in step 4., and search for Blend_My_NFTs:
- Click the
Checkboxto enable the Blend_My_NFTs add-on:

Now that Blend_My_NFTs is installed in your instance of Blender you can find the main panel in the 3D View tab in Layout, once you are there tap N on your keyboard to open the side panel:

Important Terminology
Before you can continue further, there are terms used in this documenation to describe the process of this software. This makes it easier to understand how you need to organize your .blend file to generate NFTs. Refer to this section if you come accross an unfamiliar term.
Let's say you are creating an NFT collection, the artwork is a .png of a person wearing a hat:
-
Attribute- A part of the .png that can be changed. The idea of aHaton a man is an Attribute, there are many types of Hats, but theHatitself I will refer to it as an Attribute. -
Variants- These are the types of Hats; Red Hat, Blue Hat, Green Hat, Cat Hat, etc. These can be swapped into theHatAttribute to create unique .png NFTs. -
DNA- A sequence of numbers that determins whatVariantfrom everyAttributeto include in a single NFT .png. Blend_My_NFTs creates and stores a uniqe DNA sequence for each NFT you create. These numbers are stored in theNFTRecord. -
NFTRecord- The "Ledger" of allDNAfor your NFT collection. This will be generated after you create all the Attribtues and Variants that make up your NFT collection in Blender. -
Batch- A randomly selected subset ofDNA, taken from theNFTRecord. Blend_My_NFTs can split theNFTRecordinto multiple Batches; This allows you to render or create NFTs on multiple computers, or at seperate instances in time.
Blender File Organization and Structure
Organizing your NFTs Attributes and Varariants in Blender is essential to generate files with Blend_My_NFTs. Follow the organizational rules below when making your NFT .blend file:
- Your .blend file scene must contain a
Script_Ignorecollection. Make sure the name is exactlyScript_Ignore, include the underscore and capitalization.
- Any objects (Lights, Cameras, Background images, etc.) that stay constant throughout every NFT file are to be placed in this
Script_Ignorecollection.Script_Ignoremay contain sub collections and all naming conventions are not required withing this collection.
-
Every Attribute is represented by a collection placed directly in the Scene collection. The name of these attribute collections can not contain numbers or the underscore (
_) symbol. The name can contain spaces -
Every Variant of each Attribute is represented by a collection. These collections are to be placed in the corresponding Attribute colleciton. The naming convention of these Variant collections is as follows:
- <
Name of Variant>_<Order Number>_<Rarity Percentage>Name of Variant==> Any string/number/symbol combination, must not include the underscore (_) symbol. Can contain spaces.Order Number==> An incrementing number. Must increment for each Variant added to a given Attribute starting at1, numbers cannot repeat and must be unique for each Variant. Can only be in a single number format, do not use 001 or 0001 formats.Rarity Percentage==> A percentage that determins the chance that the given variant will be selected. Must be a number, can contain decimals, cannot contain the percentage (%) symbol. SeeNotes on Rarity and Weighted Variantssection for more details.
- Each Variant collection can contain everything that makes up an individual Variant; it can contain objects, lights, meshes, planes, and every other object type.
Example of proper BMNFTs compatable Blender scene
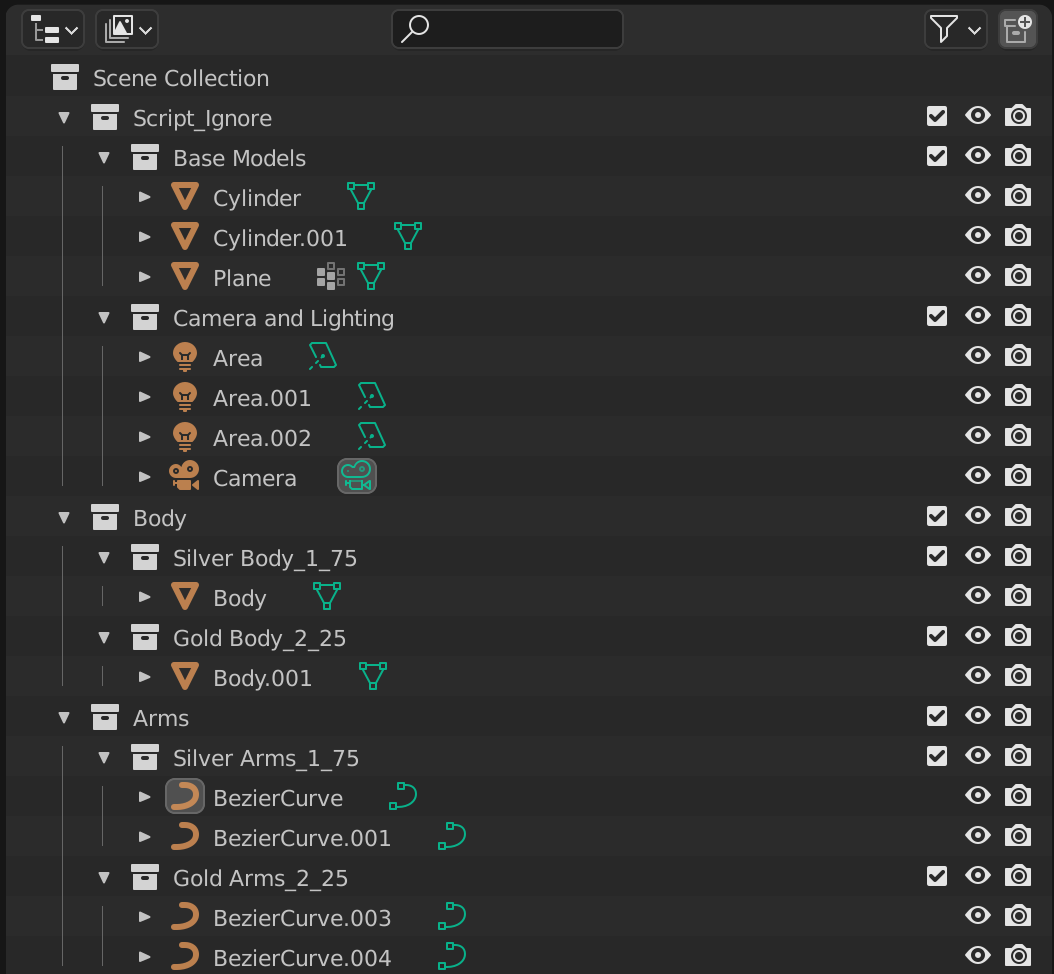
In this example, notice how the main components in Script_Ignore can be any type of object. The collections Body and Arms are both Attribute collections; Silver Body_1_75 and Gold Body_2_25 are Variants of the Body Attribute, and have a 75% and 25% generation chance. Silver Arms_1_75 and Gold Arms_2_25 are Variants of the Arm Attribute and have the same weighted distribution as the Body Variants. Notice how the Variant collections in the Arm Attribute can contain more than one object and object type, this principle can be applied to any Variant collections.
Steps to Generate NFTs
Step 1. - Create NFT Data
Step 2. - Generate NFTs
Step 3. - Refactor Batches & Create MetaData
Notes on Rarity and Weighted Variants
Rarity is a percentage value and accepts fractions like 0.001%, but they must be specified with decimals in the naming (fraction like 1/2 or 3/5 are not permitted in the naming structure). For ease of use the percentages should add up to 100%:
33% + 33% + 33% + 1% = 100%

Variant 1 = 33% chance
Variant 2 = 33% chance
Variant 3 = 33% chance
Variant 4 = 1% chance
If you have 20 variants with 50 set as the rarity percentage for each, Blend_My_NFTs will add up the percentages then treat the sum as 100%:
50% + 50% + 50% + 50% + 50%....
= 1,000%

Out of 100%:

(50/1,000)*100 = 5% chance of 1 variant
Rarity is dependent on both the number of NFTs you generate, as well as the maximum number of possible combinations of the Attributes and Variants in your .blend file.
This results in the following two scenarios, say, at a fixed number of 10,000 NFTs to generate;
-
Your .blend file has 1,000,000,000 possible combinations (trust me that's a small number, our collection for This Cozy Place has over 11 Trillion possible combinations). Generating 10,000 will be more representative of the rarity numbers you set as the script will simply have more combinations to choose from.
-
Your .blend file has 10,000 possible combinations. This means all possible combinations of your NFT will be generated, meaning that no rarity can be taken into account.
This is happens for following reasons:
-
The rarity is determined sudo randomly, but is weighted based on each Variants rarity percentage.
-
The scripts generally prioritize the number of NFTs to generate (
maxNFTs) over rarity percentage
This behaviour is a fundamental mathematical result, not an issue with the code. I've researched various ways of creating and enforcing rarity, this is the only way I have found that works. If you have found a better method, feel free to make a pull request explaining it and I'd be happy to review and merge it to the main Github repo for BMNFTs.
.blend file Rarity examples:
- With Rarity percentage (50% 50% split)
  Hat <-- Attribute
  |-Green Hat_1_50
  |-Red Hat_2_50
- Since it's 50/50 it can also be expressed like this:
  Hat <-- Attribute
  |-Green Hat_1_0
  |-Red Hat_2_0
Leaving the rarity number as 0 will randomly select 1 of the variants you set in your .blend file. Note that this only works if every variant's rarity is set to 0. For an attribute its rarity or random, not both. You can have different attributes, where some are using rarity and others are randomly selected, but you cannot mix these with variants of one attribute.
Example of more complex rarity structures:
  Hat <-- Attribute
  |-Green Hat_1_24.75
  |-Red Hat_2_24.75
  |-Blue Hat_2_24.75
  |-Orange Hat_2_24.57
  |-Purple Hat_2_0.5
  |-Yellow Hat_2_0.5
In the example above, Green, Red, Blue, and Orange hats all have an equal chance of getting selected. However Purple and Yellow hats will only appear on average 0.5% of the time. We recommend rounding to about 5 decimal places for simplicity, as numbers of more accuracy aren't really needed for NFT collections 10,000 or smaller.
The code that determines rarity can be found the Rarity_Sorter.py.